
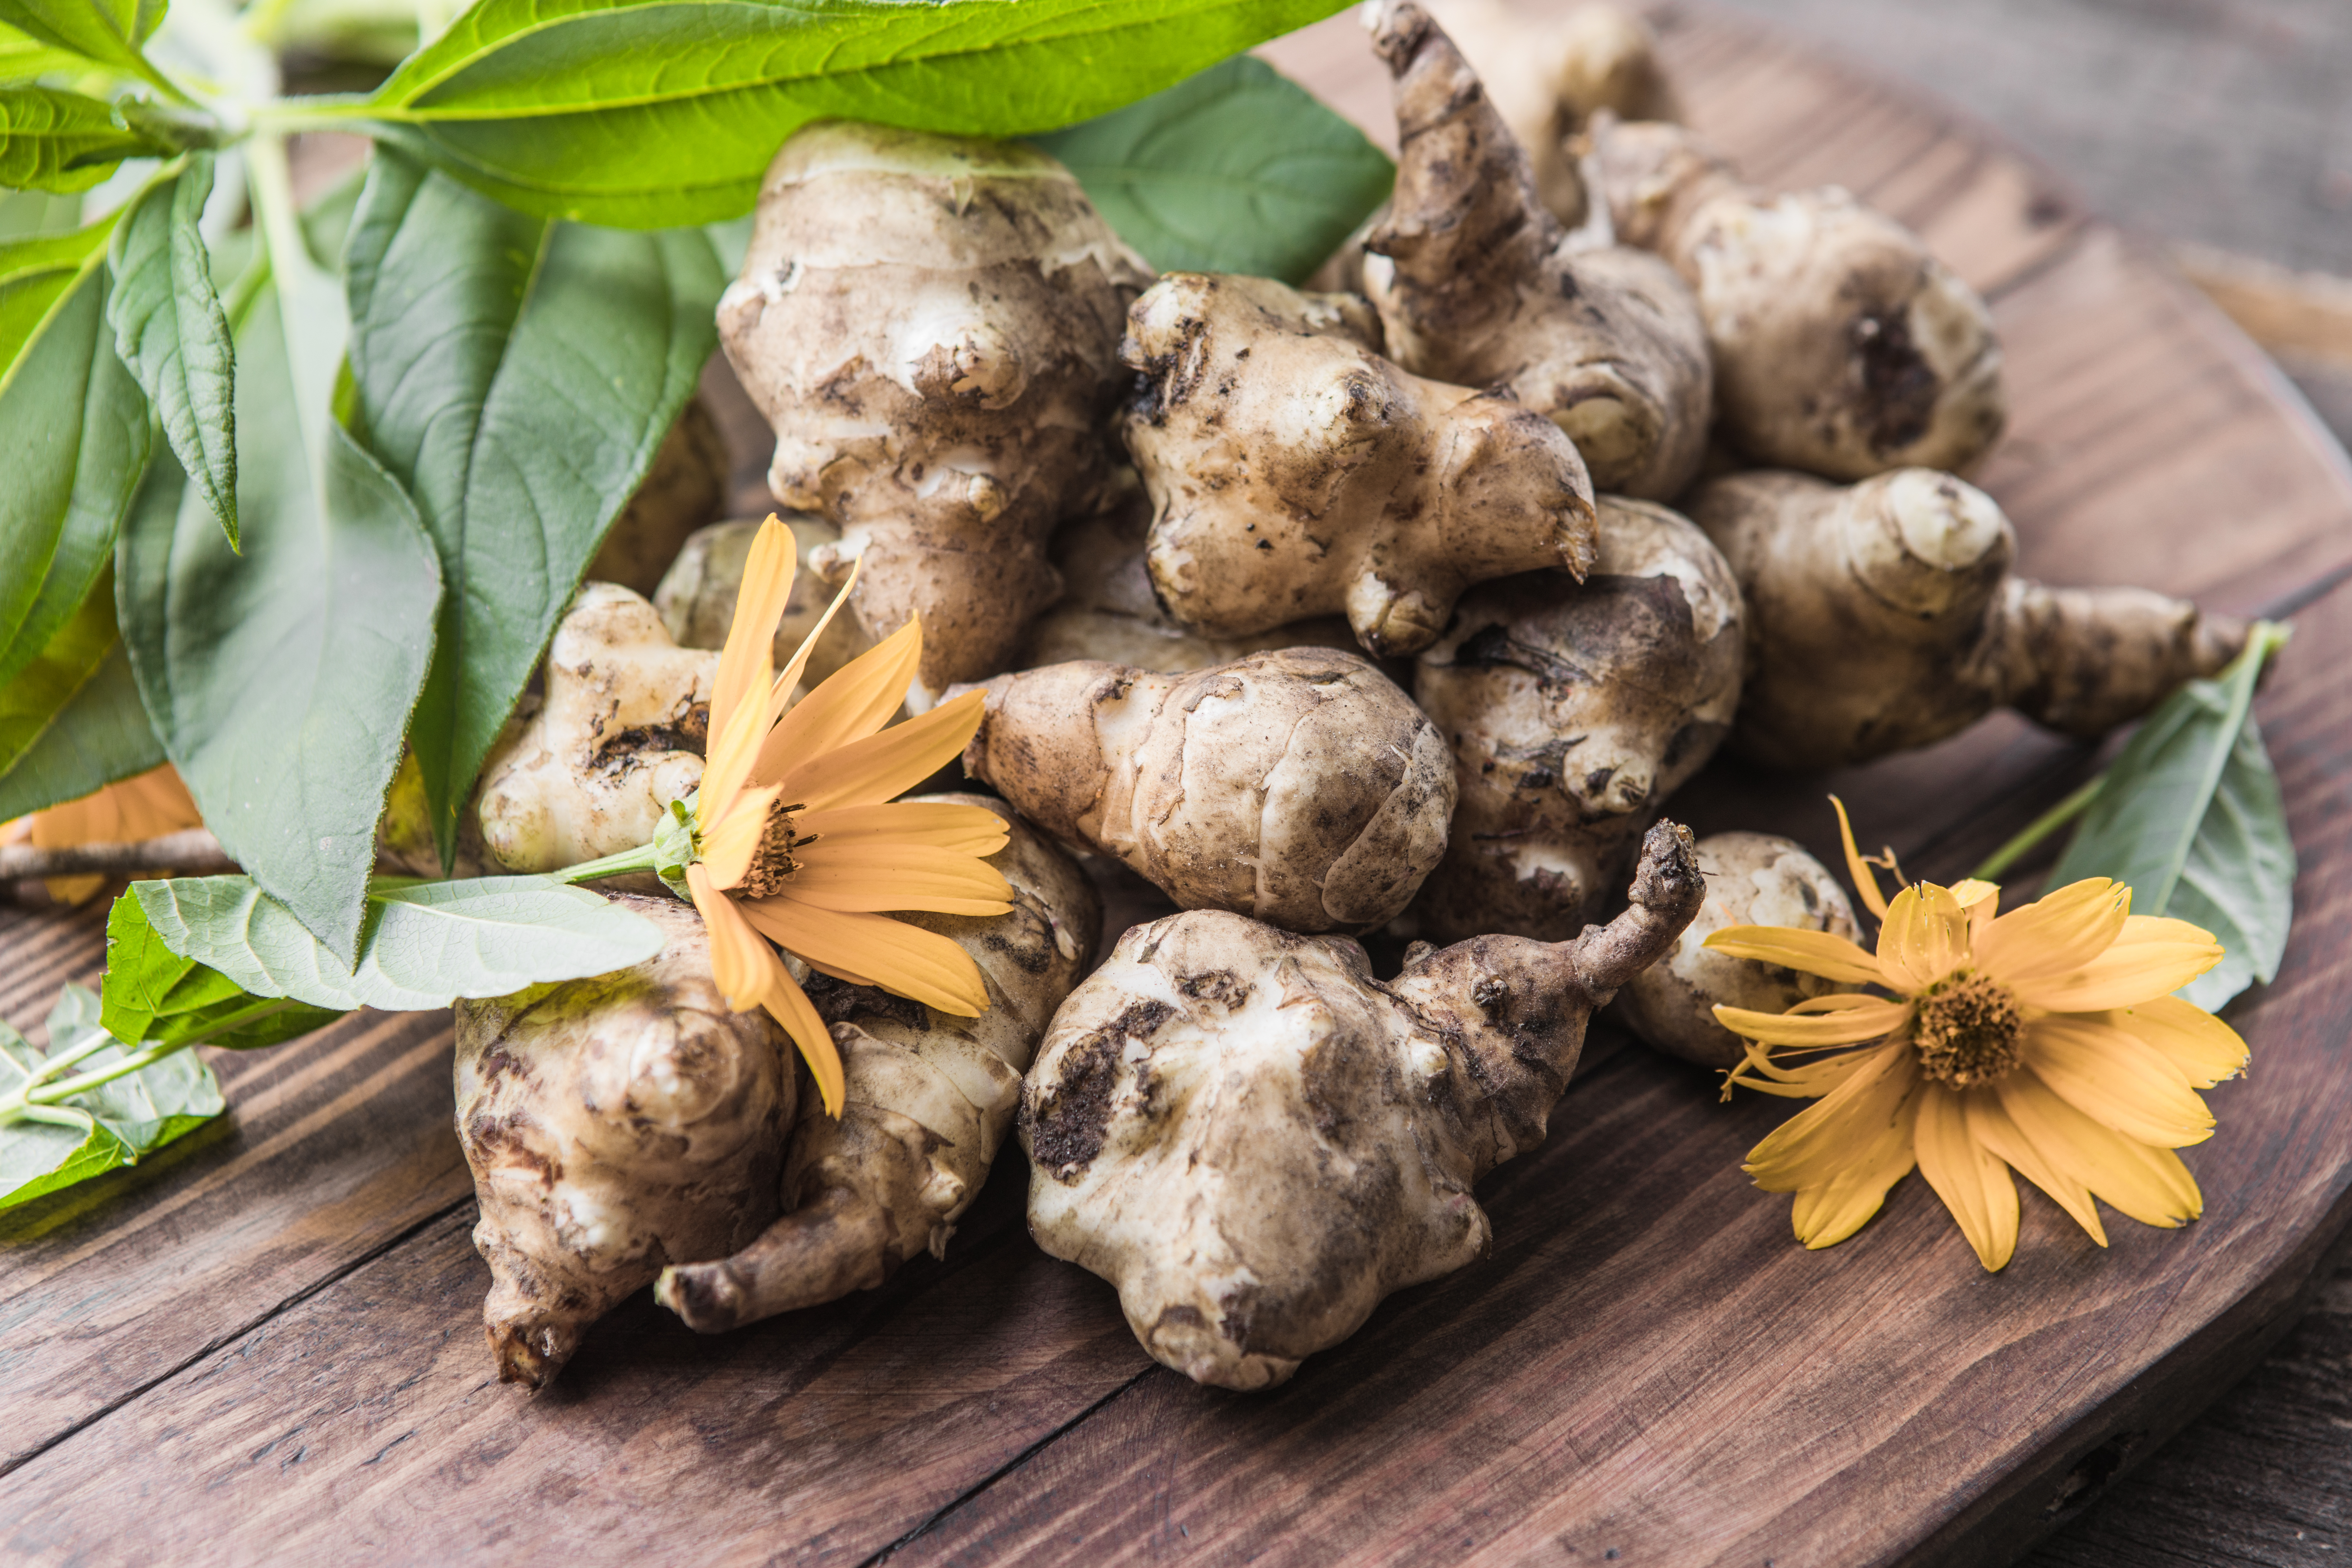
Jerusalem Artichoke
Helianthus tuberosus
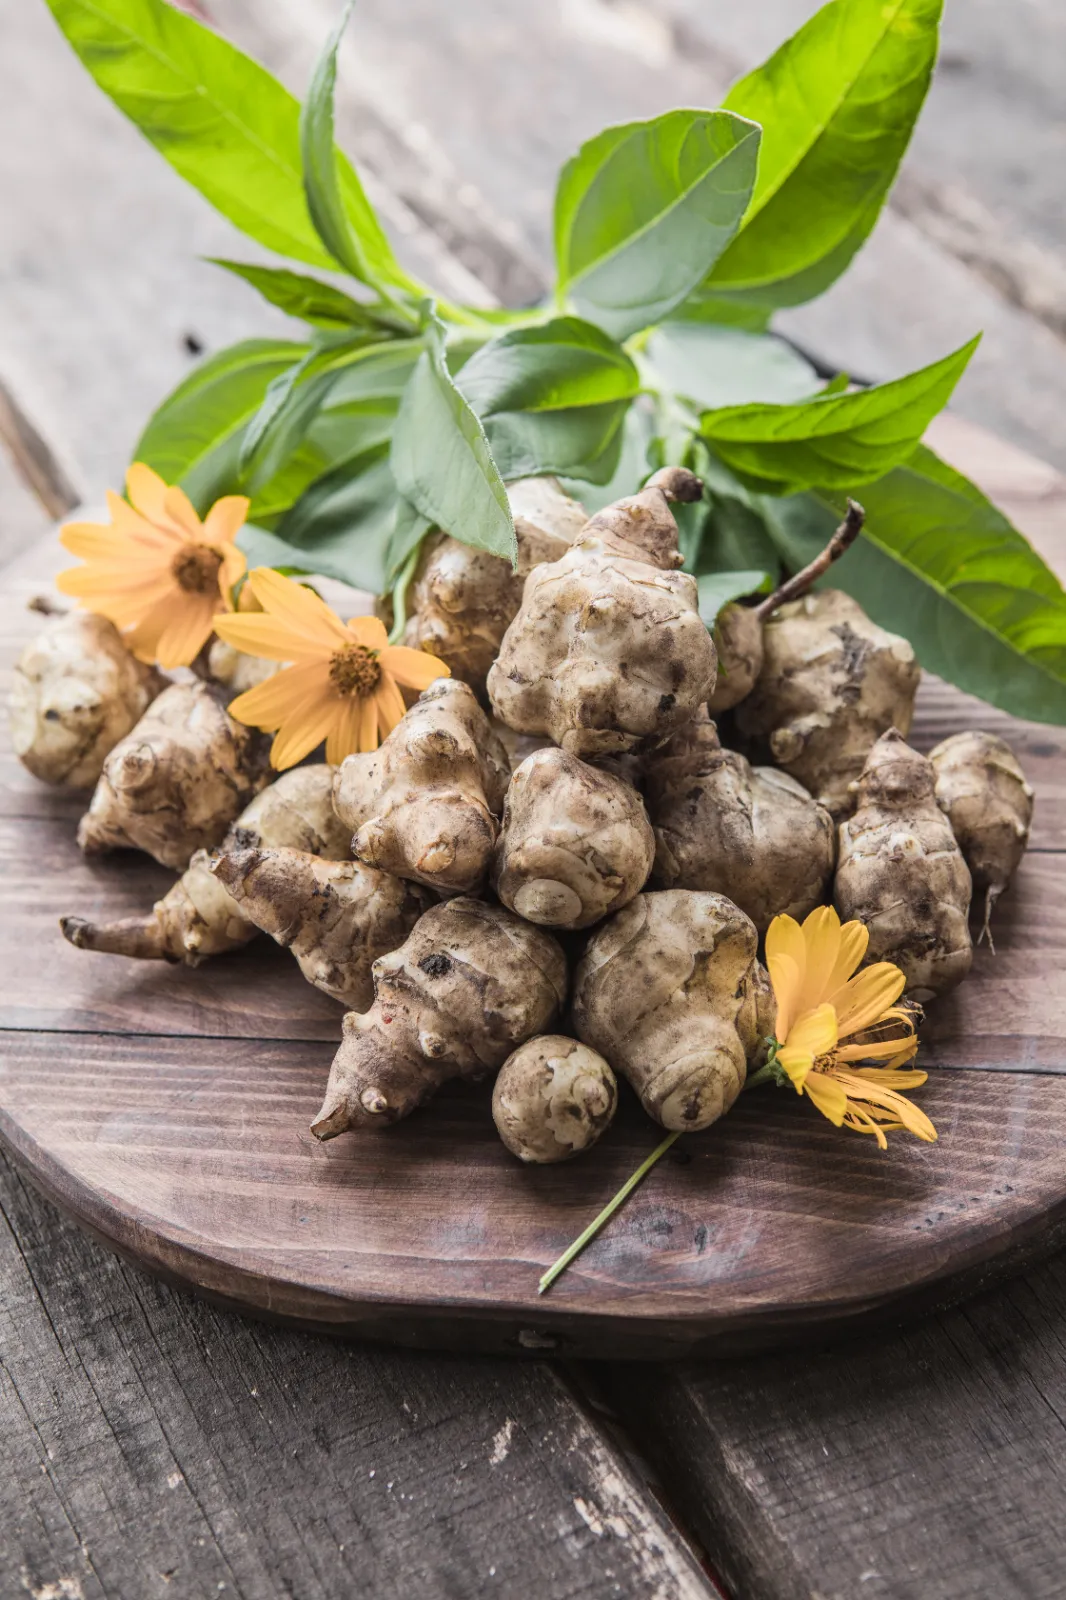
Jerusalem artichoke goes by many names and is best described as a cross between a potato, and its close relative, the sunflower. In late summer this beautiful and useful perennial produces dozens of small sunflowers on stalks that often reach over 10' (3 m) tall and shortly after begin to produce delicious edible tubers for a fall or winter harvest. Plants have a long growing season, require minimal maintenance, and overall are one of the easiest crops to grow.
How to Grow Jerusalem Artichoke
Quick Info
Put away the pen and paper
Plan your veggie garden in minutes with Planter's easy drag and drop planner.
Try Planter for Free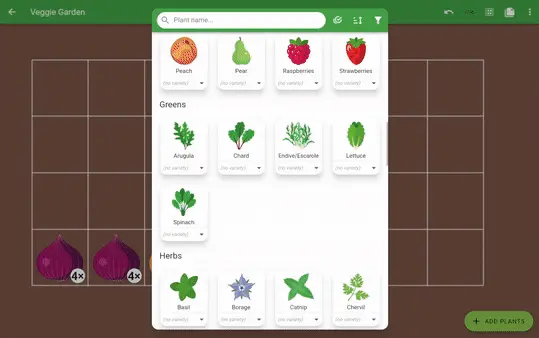
Related Articles
Growing from Seed
Jerusalem artichokes are typically grown from tubers.
Planting Considerations
Plant and stake the perimeter of this crop separate from your main garden to avoid it spreading into other areas. If it does begin to creep into unwanted parts of the garden, sprouted tubers with a top growth under 12" (30 cm) can easily be dug up and transplanted to a different part of the garden. Tubers can also be either moved or transplanted at any time during the fall or winter so long as the soil is workable.
Feeding
Fertilize in the spring when plants have about 3 - 4" (10 cm) of top growth. Plants prefer 2 to 3 lbs/100 square feet (150 g/m²) of a balanced fertilizer like a 5-5-5 spread evenly, gently mixed into the soil, and watered in.
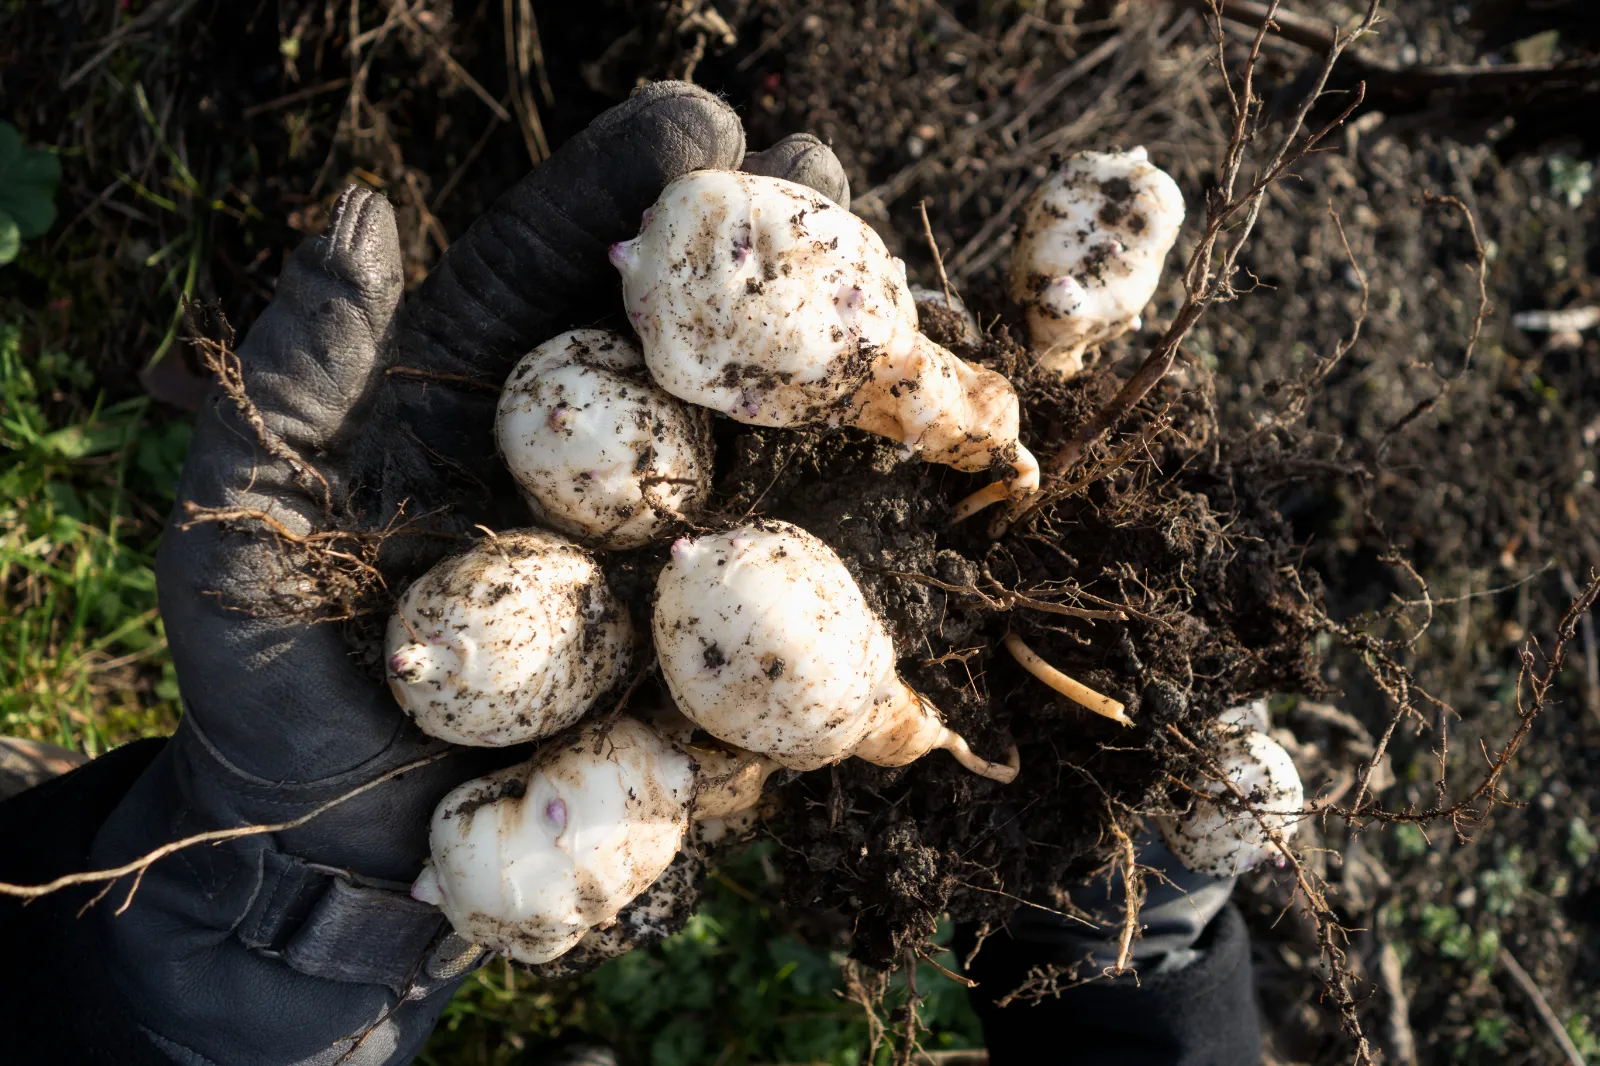
Harvesting
In late fall when lower leaves have begun to yellow and brown, you can begin to dig up tubers much like you do with potatoes either by hand, using a broad fork, or carefully with a shovel. Additionally, tubers do not all need to be dug up at the same time but rather harvest can occur throughout the winter as you eat them.
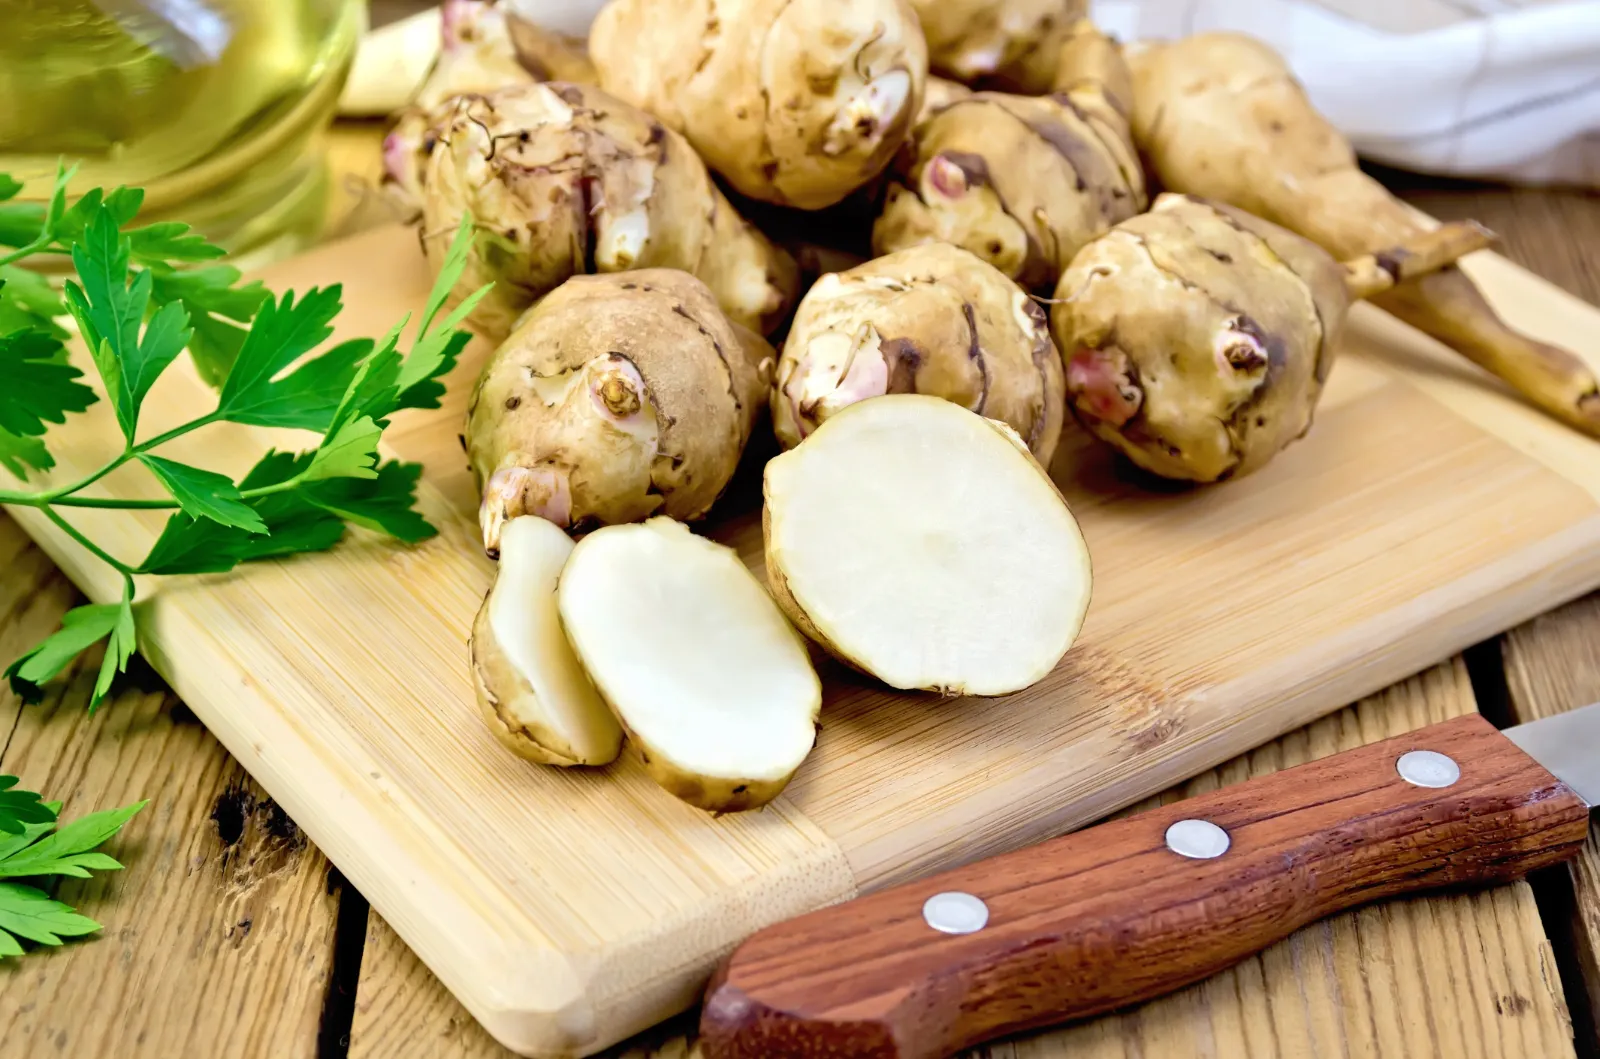
Storage
Tubers do not store well outside of the soil so only dig up what you plan on consuming within a week or 2 to avoid your tubers spoiling.