Rice
Oryza sativa, Oryza glaberrima, Zizania palustris, Zizania aquatica
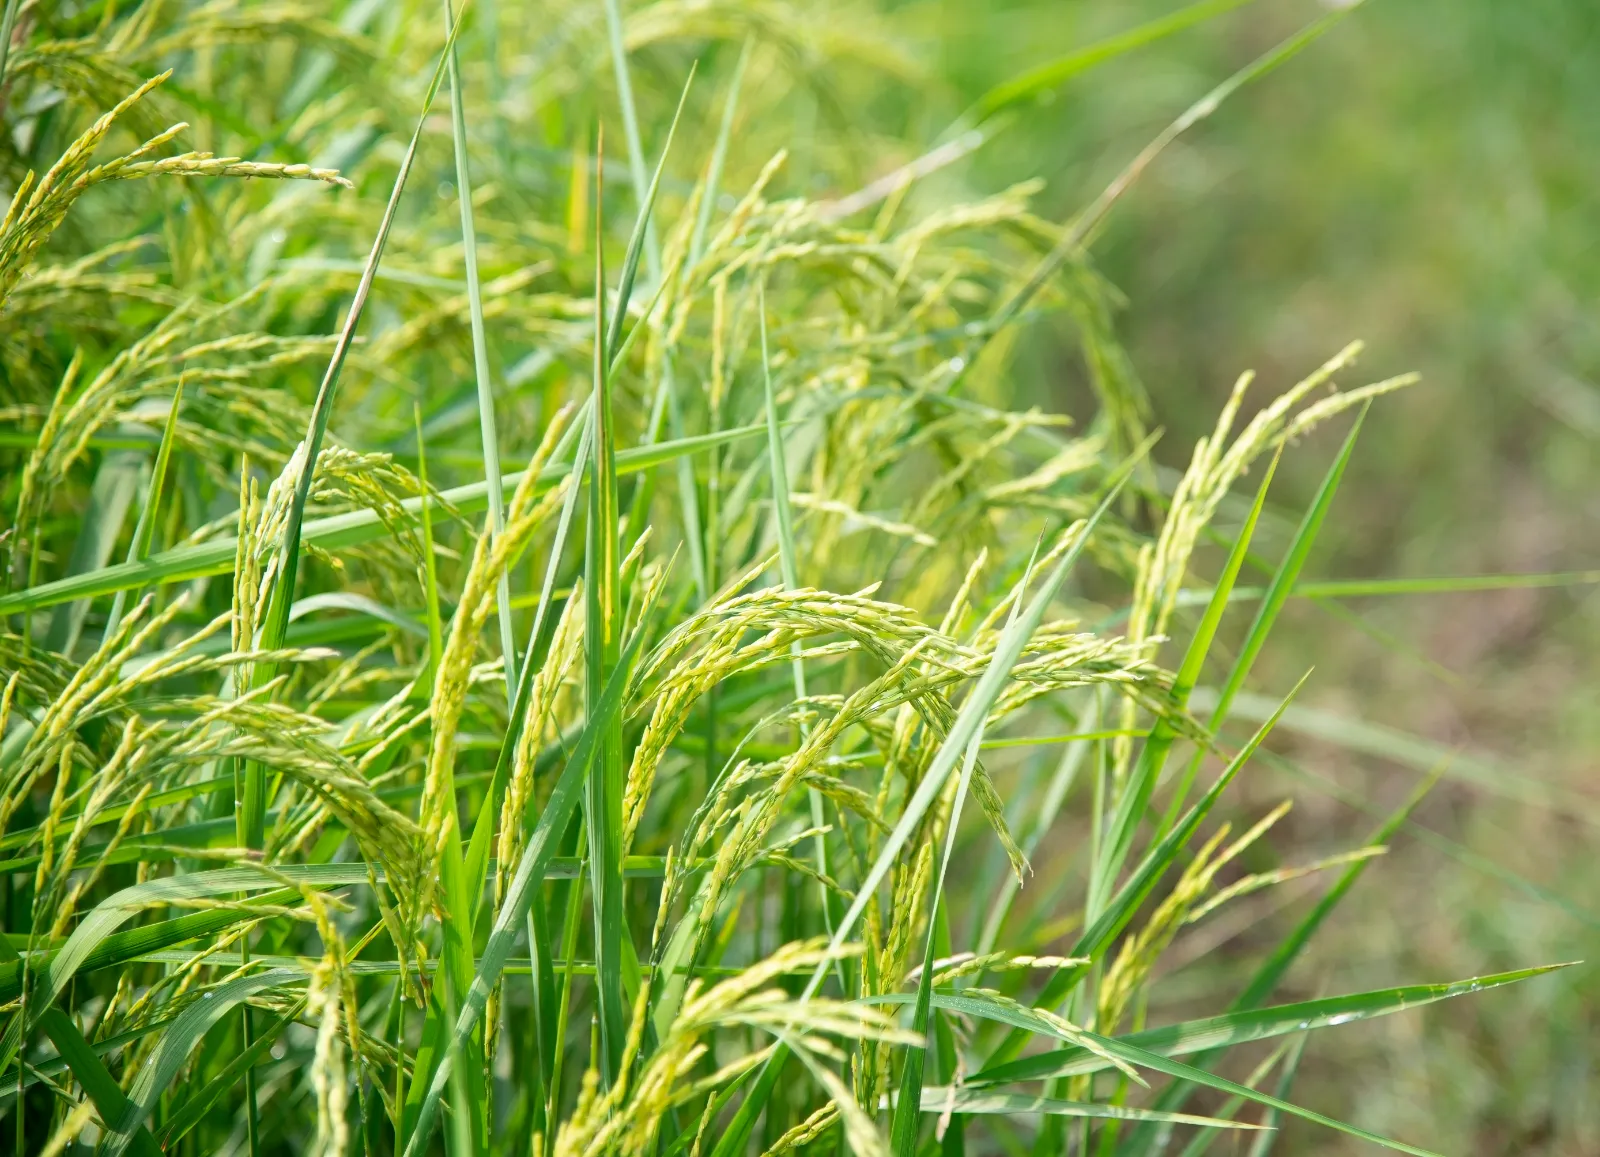
Rice is a staple food for more than half the world's population There are two major species of rice: Asian rice (Oryza sativa) and African rice (Oryza glaberrima). The majority of rice grown worldwide is Asian rice. Within the Asian rice species there are two major subspecies- Indica and Japonica. Indica usually has long, slender, grains that are drier and more separate when cooked while Japonica tends to be shorter, rounder, and softer when cooked. Rice is also grouped into upland and lowland types: upland rice can be grown in drier conditions while lowland rice prefers wet conditions and is usually grown in flooded fields or paddies. In the culinary world, rice types are categorized as long-, medium-, and short-grain depending on the width to height ratio of the grains. Within these categories are specific types such as basmati and jasmine (fragrant rice), arborio, bomba, sushi rice, and sticky rice, just to name a few. Plus there are speciality red and black rices, and wild rice (Zizania palustris, Zizania aquatica) which is not technically a rice. Rice is surprisingly easy to grow at home- especially upland rice which doesn't need wet conditions. It takes a fair amount of space to get a sizable yield, but rice can be an attractive and interesting plant to grow even in small spaces.
How to Grow Rice
Quick Info

Put away the pen and paper
Plan your veggie garden in minutes with Planter's easy drag and drop planner.
Try Planter for Free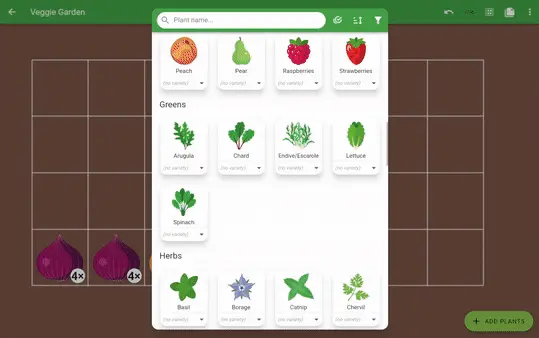
Nutrition
Vitamins


Nutrients


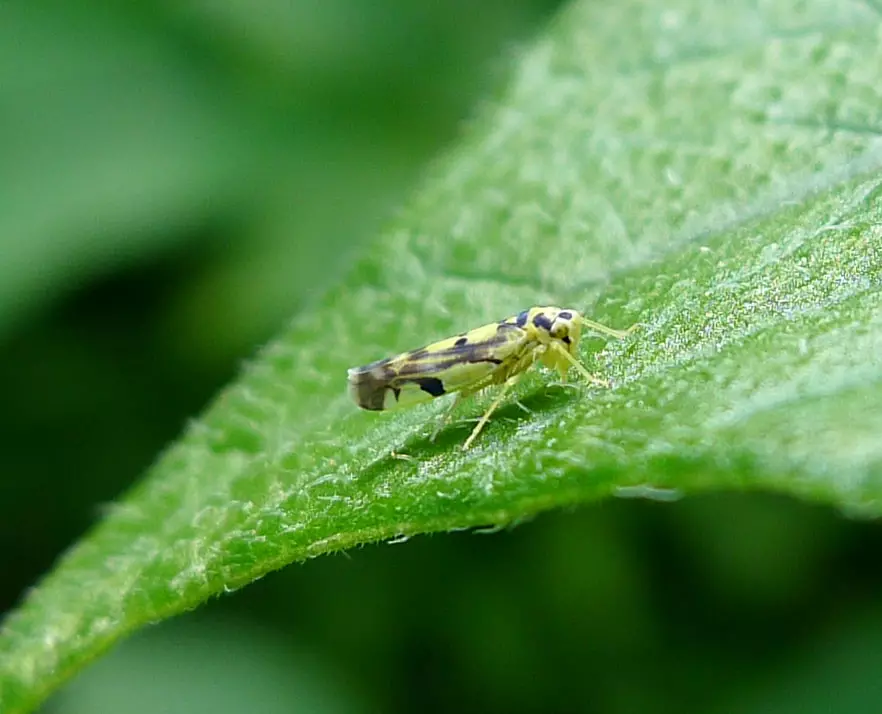
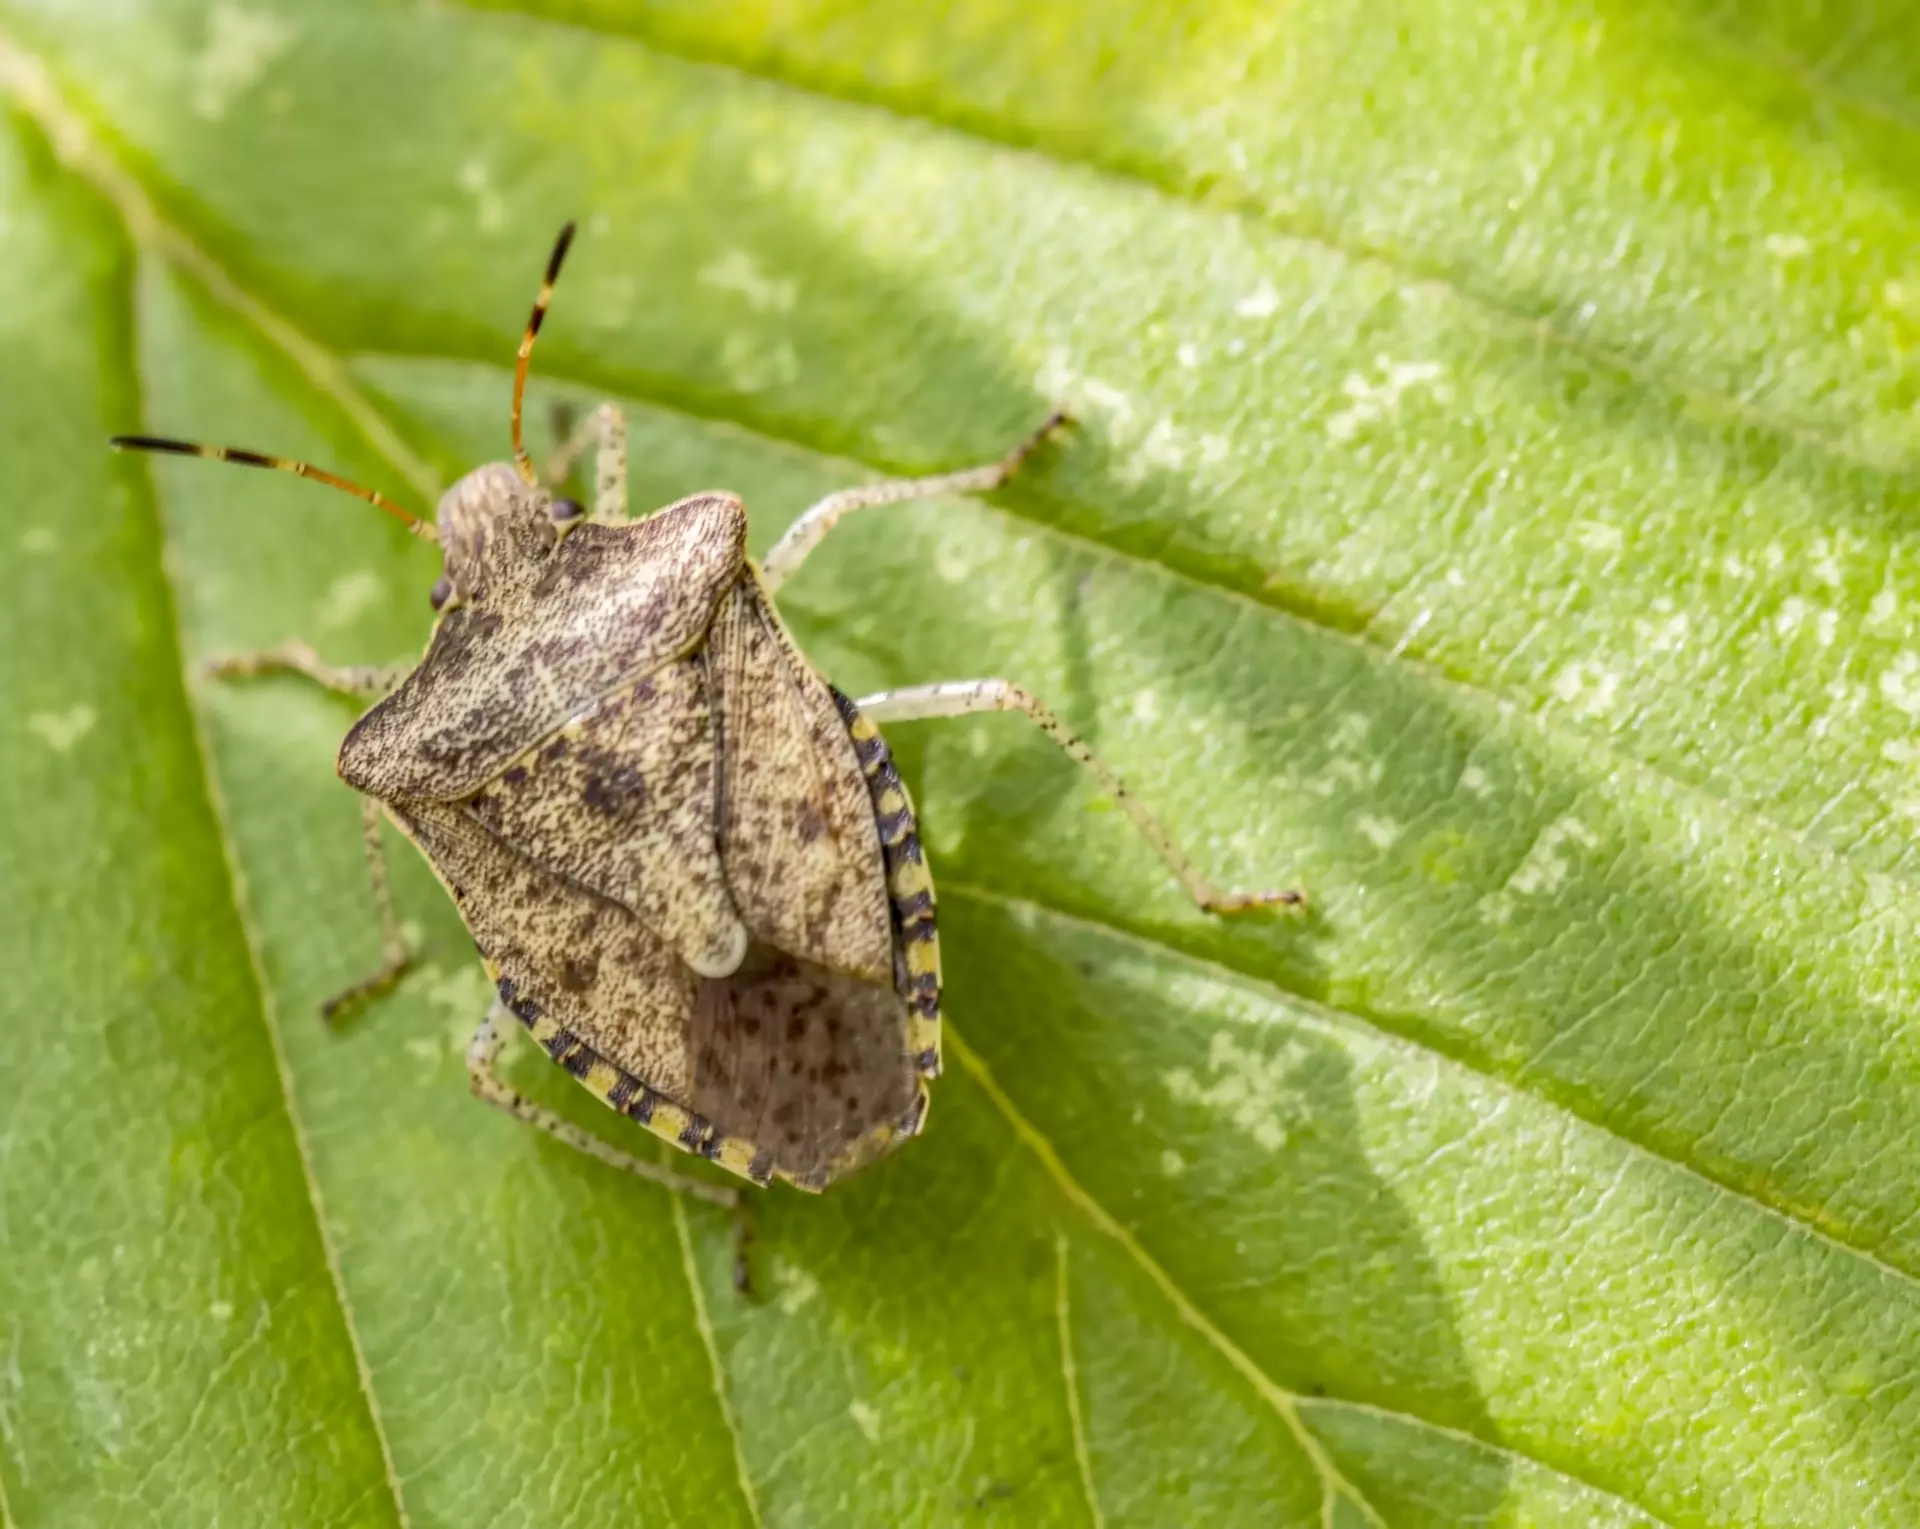
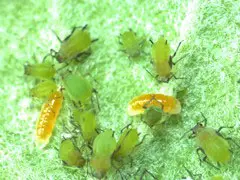
Pests
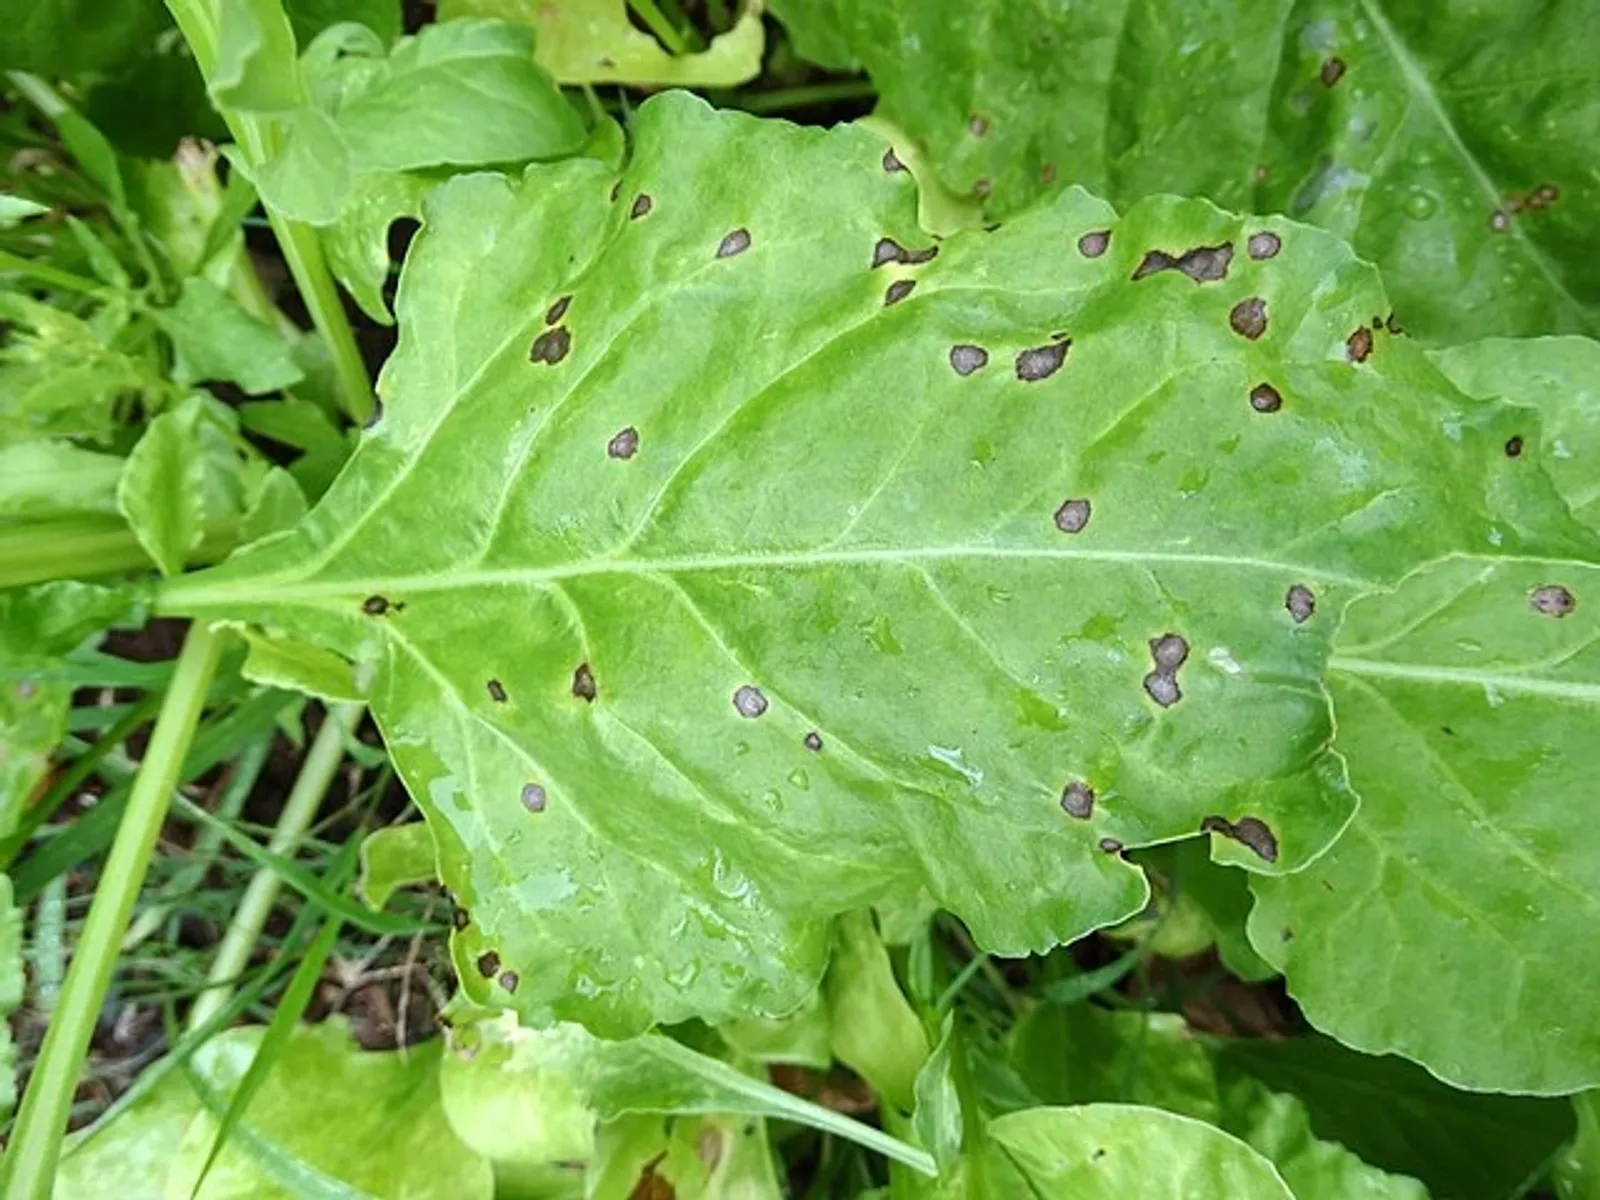
Diseases
Beneficial Critters

Growing from Seed
Rice should be grown from rice seeds; grains of rice that still have their entire hulls intact. It is possible that organic brown rice from the grocery store may germinate, but it is better to seek out rice seeds and select a variety that is suited to your growing conditions. Decide whether to purchase an upland or lowland variety. Upland varieties can be grown in typical garden conditions, while lowland varieties need consistently wet or flooded soil.
Rice can be direct seeded outdoors, but since it is a slow-growing crop in areas with shorter growing seasons it can be helpful to start indoors then transplant outside. Before planting the rice, soak the seeds for 24 hours to aid germination. Then plant the seeds into cell trays or scatter them into flats filled with seed starting mix. Cover the seeds lightly with seed starting mix and press down gently to ensure good seed-to-soil contact. Keep the seed starting mix consistently moist. A heat mat may be helpful to maintain the optimal temperature for germination. Use grow lights to provide supplemental light as soon as the seeds germinate.
To sow rice outdoors, loosen compacted soil if needed then lightly tamp down the surface using a rake or your feet to prepare a flat, even seed bed. Seeds can be hand planted or for larger areas a push seeder can be used. Water the newly planted seed in well with a gentle spray nozzle to avoid jostling the seeds.
Planting Considerations
A 10' x 10' (3 m x 3 m) plot can yield very roughly 6-10 lbs of rice.
Many varieties of rice are sensitive to cold damage even at temperatures above freezing. Growers in colder climates may want to seek out early maturing varieties with some cold hardiness (transplanting also helps to get a jump start in a short season). Wait until all risk of frost has passed and the weather is consistently warm before planting.
Choose a planting location depending on the type of rice being grown. For lowland rice, it can be best to grow in containers with no drainage holes to maintain wet conditions. Choose a growing medium that does not dry out easily- incorporating compost and/or clay-based garden soil can help. While lowland rice doesn't strictly need to be flooded above the soil line, it does need consistently wet soil. Flooding helps to maintain the necessary soil moisture and to keep weeds and certain rice pests under control.
Upland rice can be grown in typical garden conditions. While it can tolerate drier conditions it does still prefer soil that is consistently moist. Working in compost at the time of planting can help to balance moisture retention and add nutrients to the soil. Select a planting location that is relatively weed free and weed regularly to keep weeds in check, as rice doesn't compete well with weeds. Once the rice plants are established, applying mulch can help to manage weeds.
If end-of-season frost is coming and your rice plants haven't quite finished maturing, frost cloth may help to stave off cold damage long enough to get a harvest.
Feeding
For best results, fertilize rice regularly throughout the growing season. Choose a fertilizer that is slightly higher in nitrogen, but do not over-fertilize as excess can lead to 'lodging' - rice that falls over.
For rice grown in-ground, if a soil test shows specific deficiencies amend the soil at the time of planting.
Harvesting
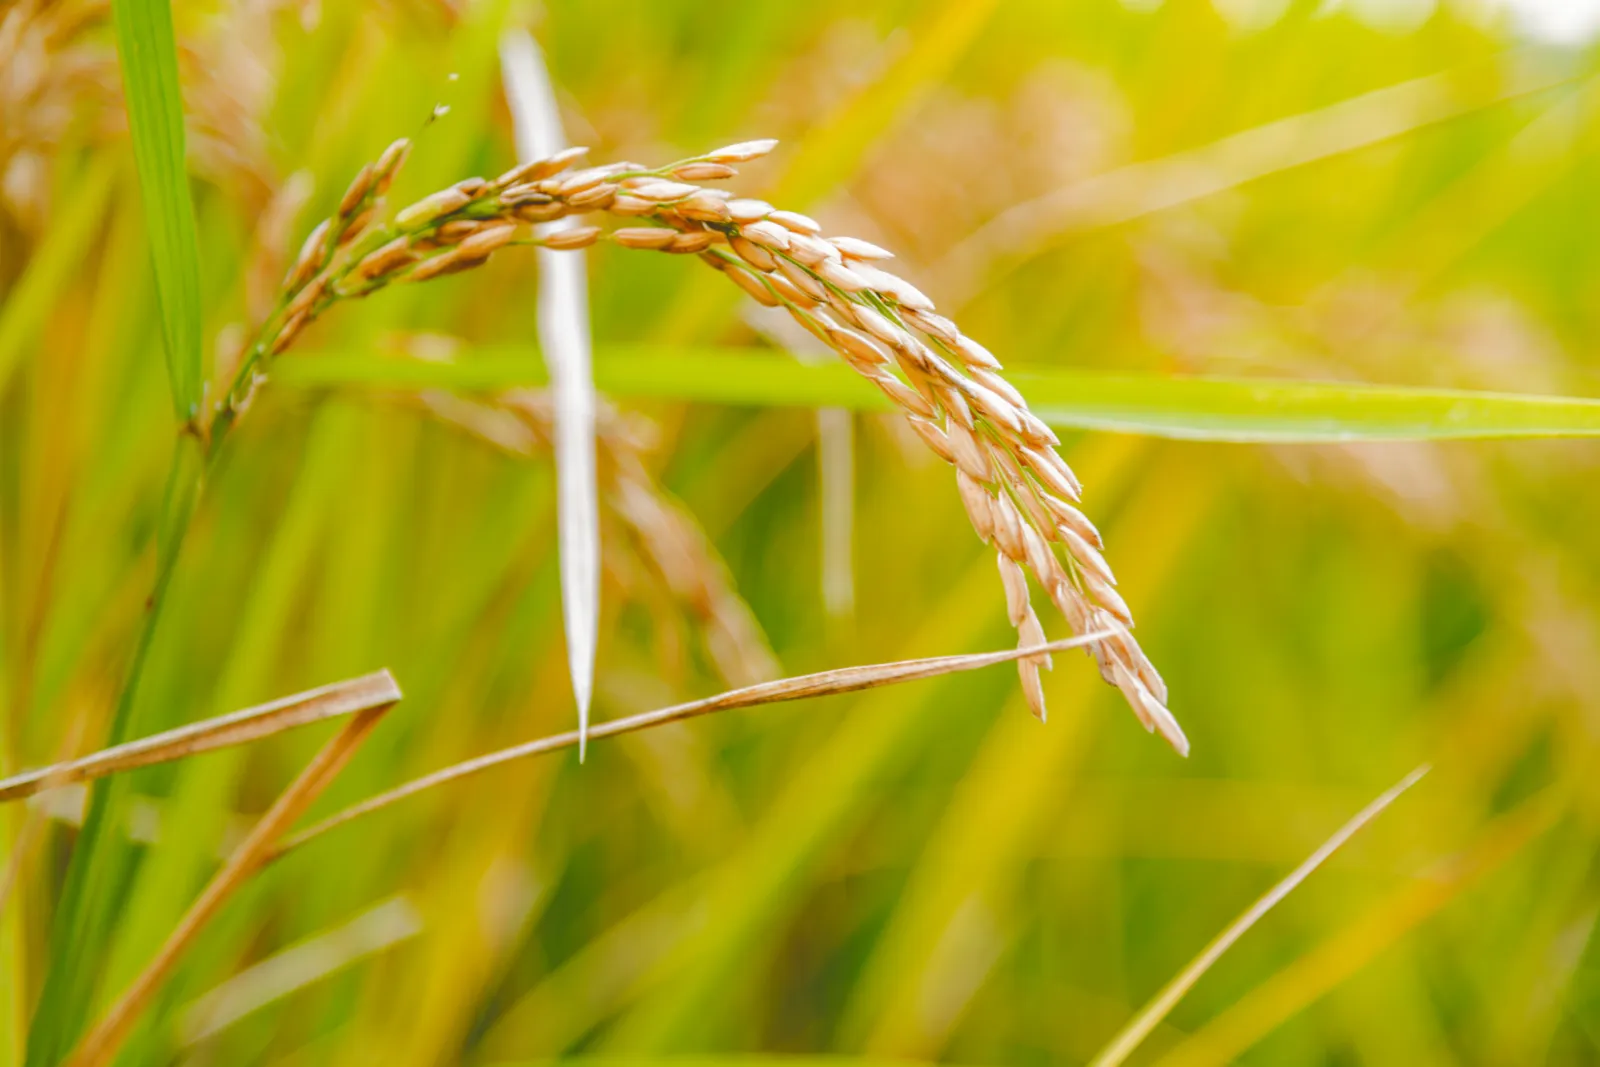
Rice is ready to harvest when the seed heads start to droop slightly and most of the seeds have turned a light golden-brown color.
To harvest rice use a knife or garden shears to cut off entire seed heads. Leave the stalks in a sheltered location with good airflow for 1-2 weeks to dry. Be sure to select a location that rodents cannot access.
Next the rice needs to be threshed (to remove seeds from the heads). Lay down a tarp to catch the seeds and either rub them by hand or beat them with a broom handle or other long piece of wood until the seed heads come off and the seeds are mostly separated. Some growers build specialized tools or machines for threshing. Threshing can be a dusty task, take precautions to avoid inhaling dust or getting dust in your eyes. Before winnowing, rubbing the seed heads through a screen can help to break up any heads that are still whole and to remove excess chaff.
After threshing, the rice needs to be hulled. This can be done by rubbing the grains in a mortar and pestle, working gently to keep the grains intact. There are DIY and commercially-available hullers that can help the process go faster. If you want to save seed to re-plant do not hull it.
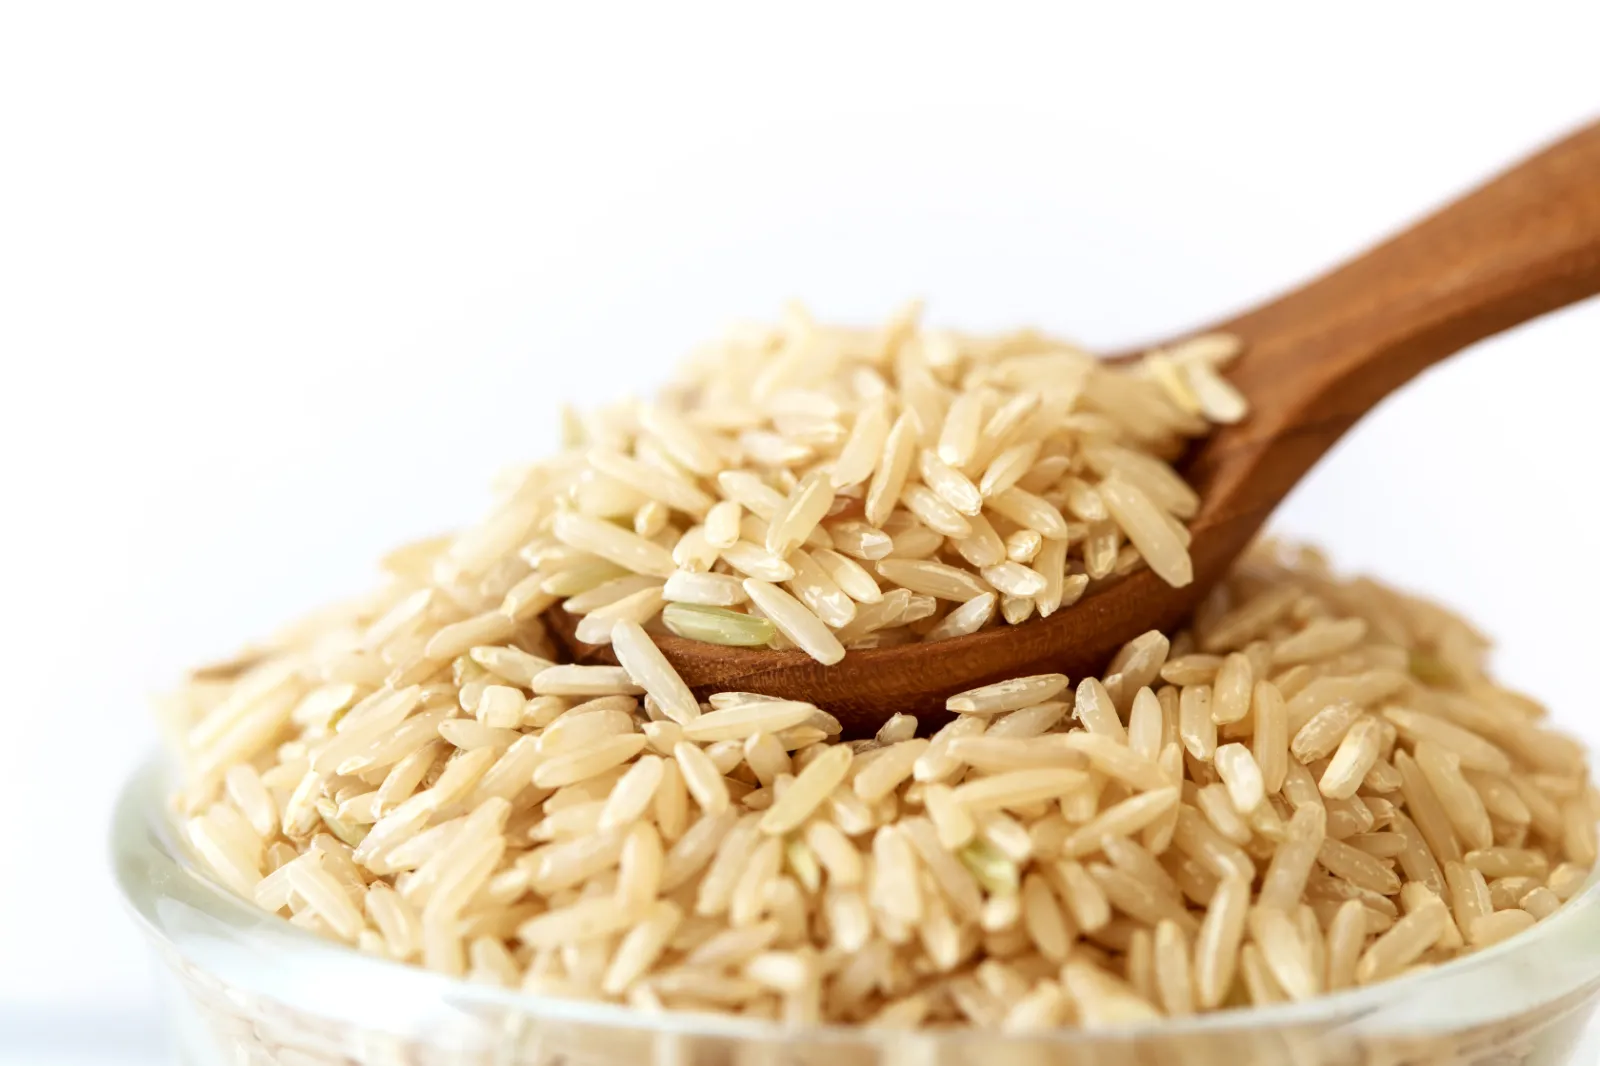
Finally the rice needs to be winnowed (i.e., grains need to be separated from the remaining chaff/loose hulls). To winnow rice either use a fan or work outside on a breezy day. Slowly pour out the rice in front of the fan into a large catchment container. The fan needs to be strong enough to blow away the lighter chaff but not so strong that the grains are being blown away. This will need to be repeated several times to get rice that is relatively free of chaff. At the end of this process the rice will be whole-grain brown rice. White rice is polished through processes that are generally not feasible at home.
Storage
Before storing home grown rice, it can be beneficial to freeze it in an airtight container or freezer-safe bag for at least three days to kill insects or larvae.
So long as it is fully dry, rice can be stored in airtight containers in a cool, dark, dry place for up to several months. Be sure to choose a storage location and container that is insect and rodent proof. The bran on brown rice contains oils that can cause it to go rancid more quickly than some other grains. For longer-term storage brown rice can be stored in airtight containers in the freezer.