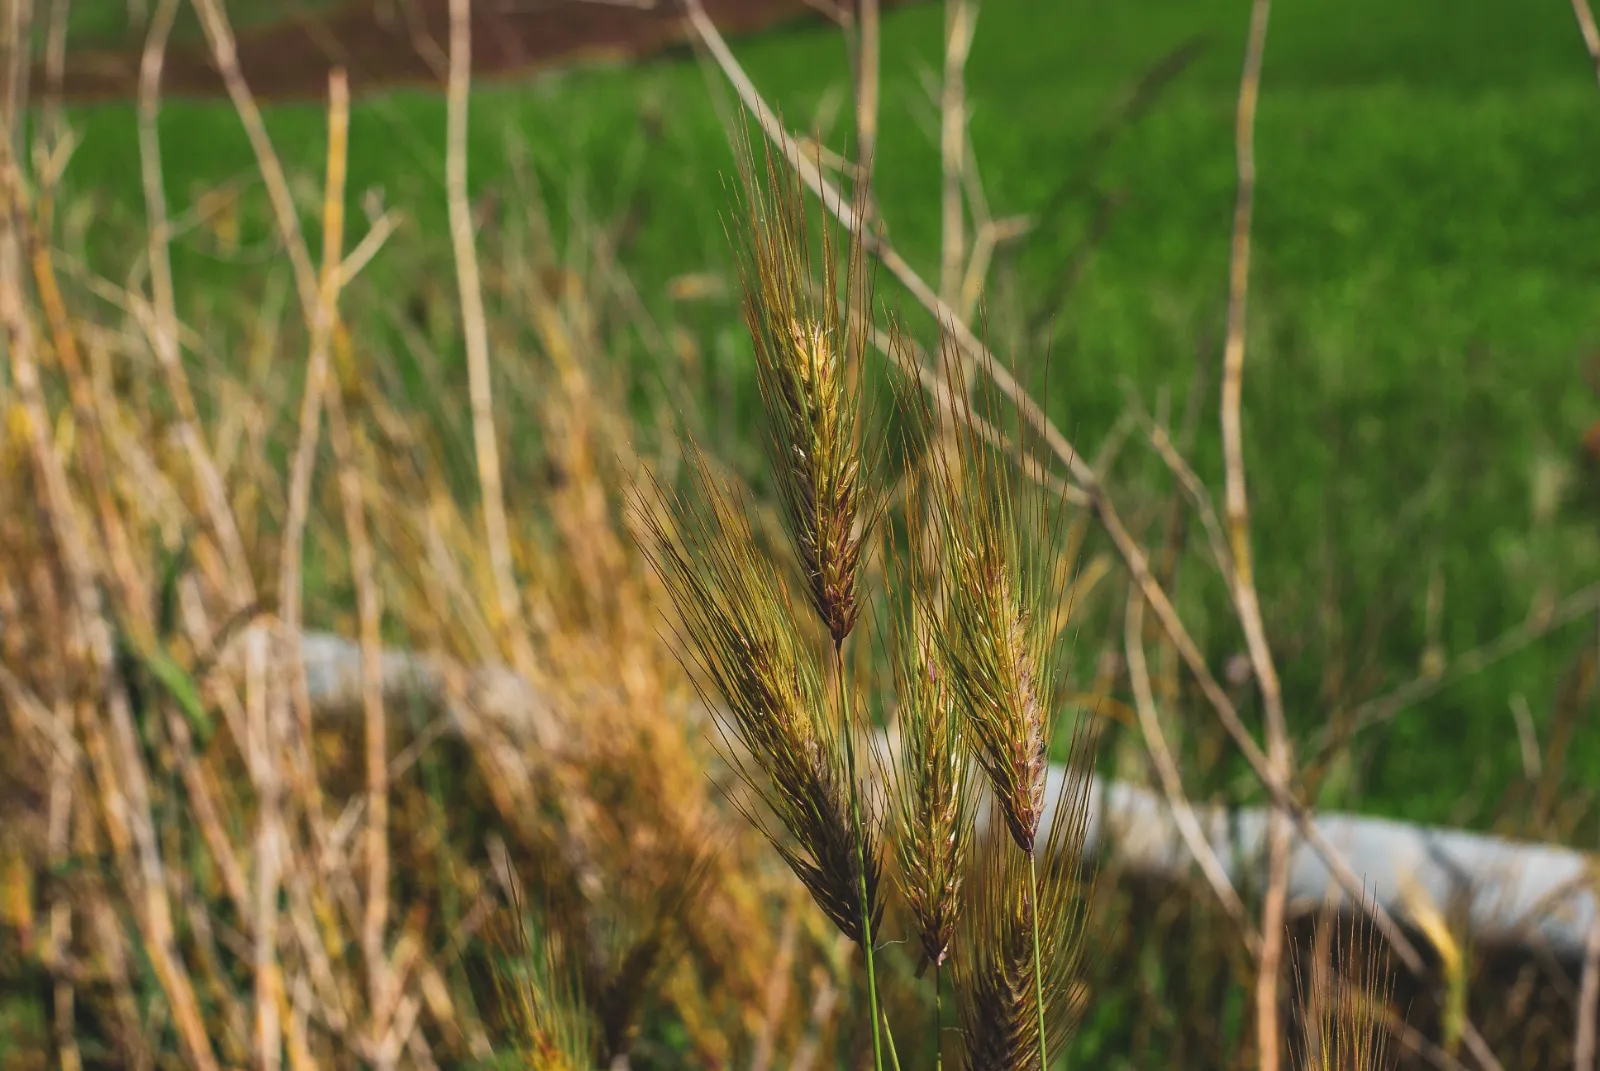

Wheat
Triticum aestivum, Triticum compactum, Triticum spelta, Triticum durum, Triticum monococcum, Triticum turanicum
Wheat is not top of mind for many gardeners, but it can be a rewarding crop to grow especially for those looking to become more self-sufficient. Wheat can also be grown for floral arrangements, as an ornamental grass, or for wheatgrass- the nutritious leafy parts of the young wheat plant. Some gardeners even grow wheat as a cover crop, either on its own or as part of a mix. As a cover crop wheat can help suppress weeds, prevent erosion, and add organic matter to the soil. Wheat can be grown as winter wheat (planted in fall and overwintered) or spring wheat (planted in spring). Different types of wheat are better suited for different climates and for different end products. It is important to select a wheat variety that is adapted to your region and suitable for what you want to do with it. Wheat is a very hands-off crop to grow once it's planted; most of the work is in harvesting and processing the grain.
How to Grow Wheat
Quick Info
Put away the pen and paper
Plan your veggie garden in minutes with Planter's easy drag and drop planner.
Try Planter for Free
Nutrition
Vitamins

Nutrients


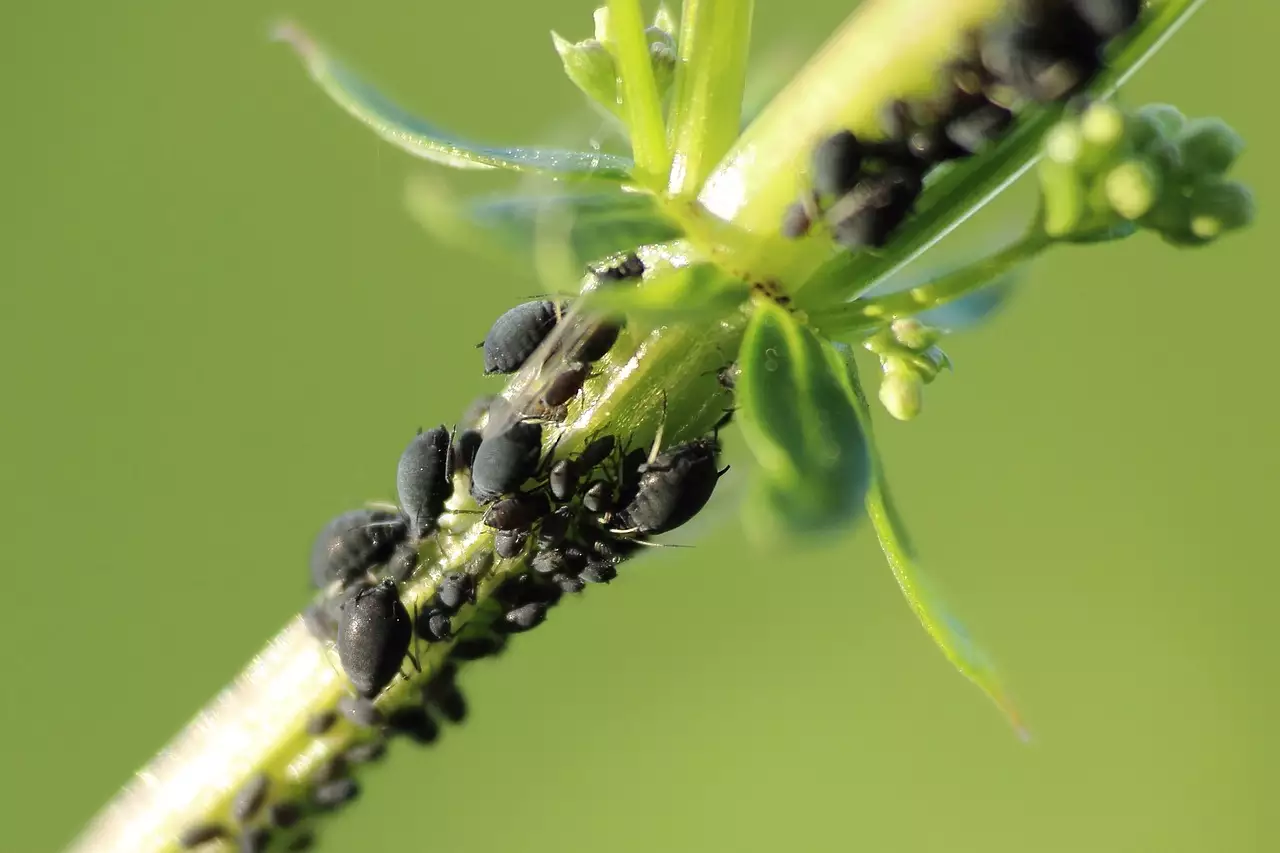
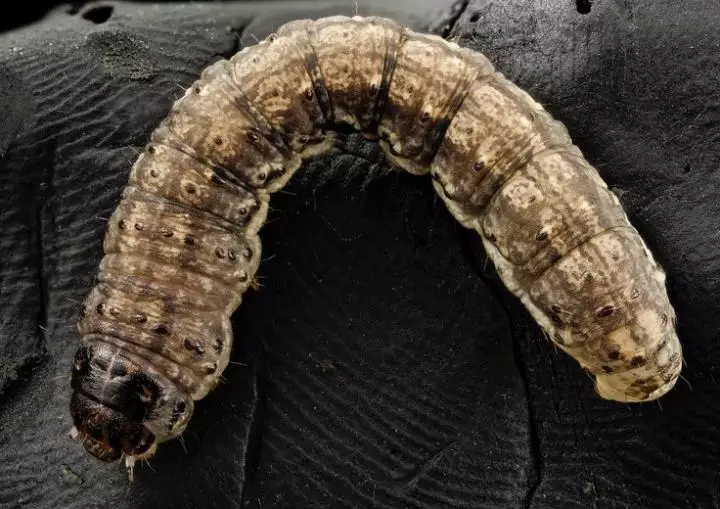
Pests


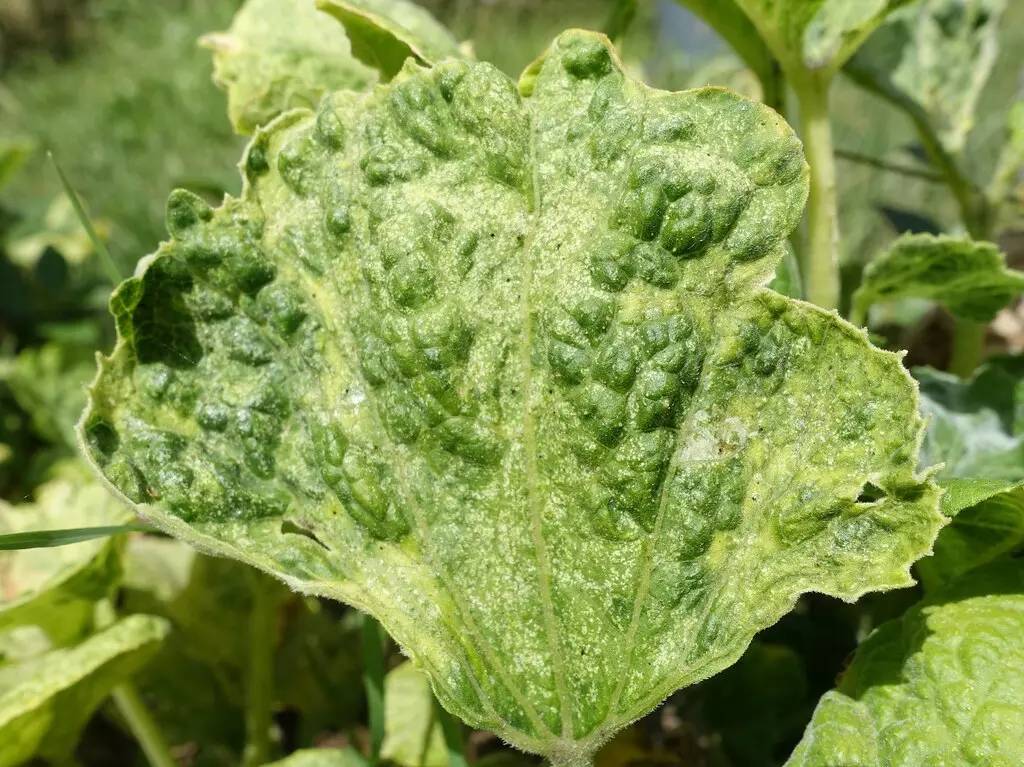
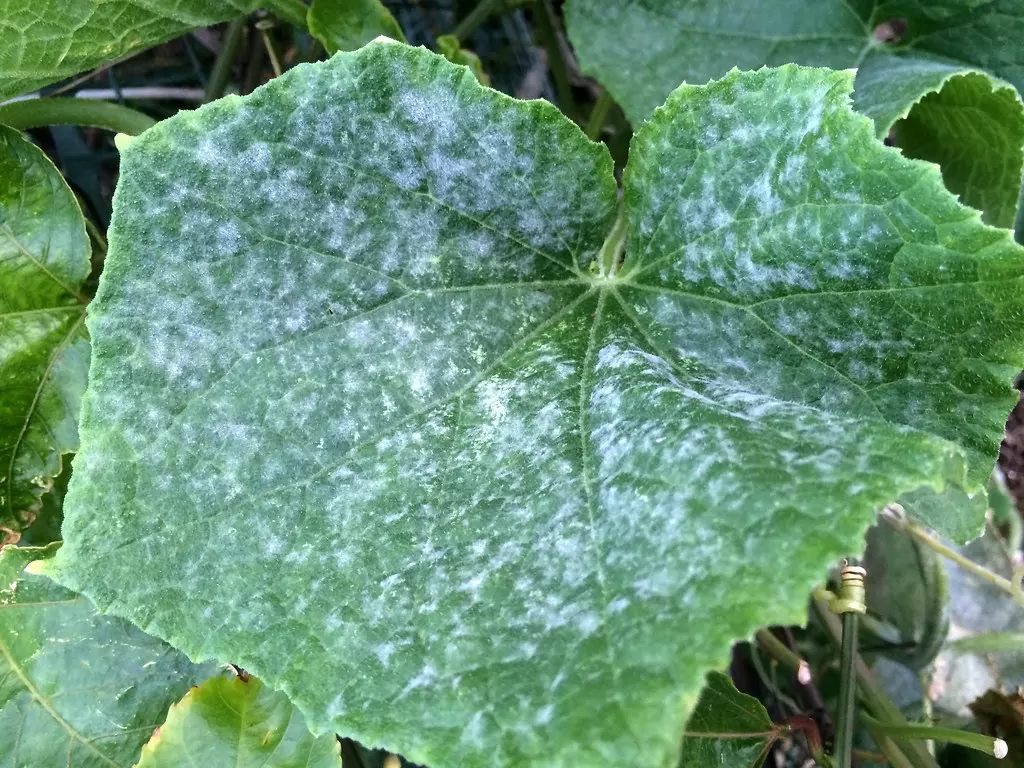
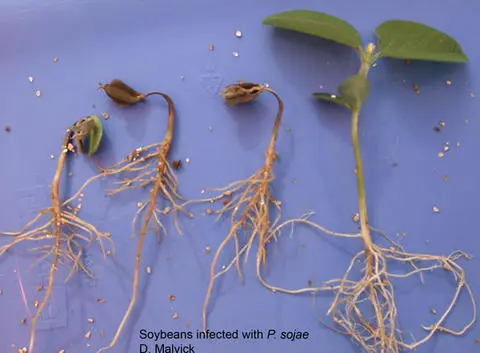
Diseases


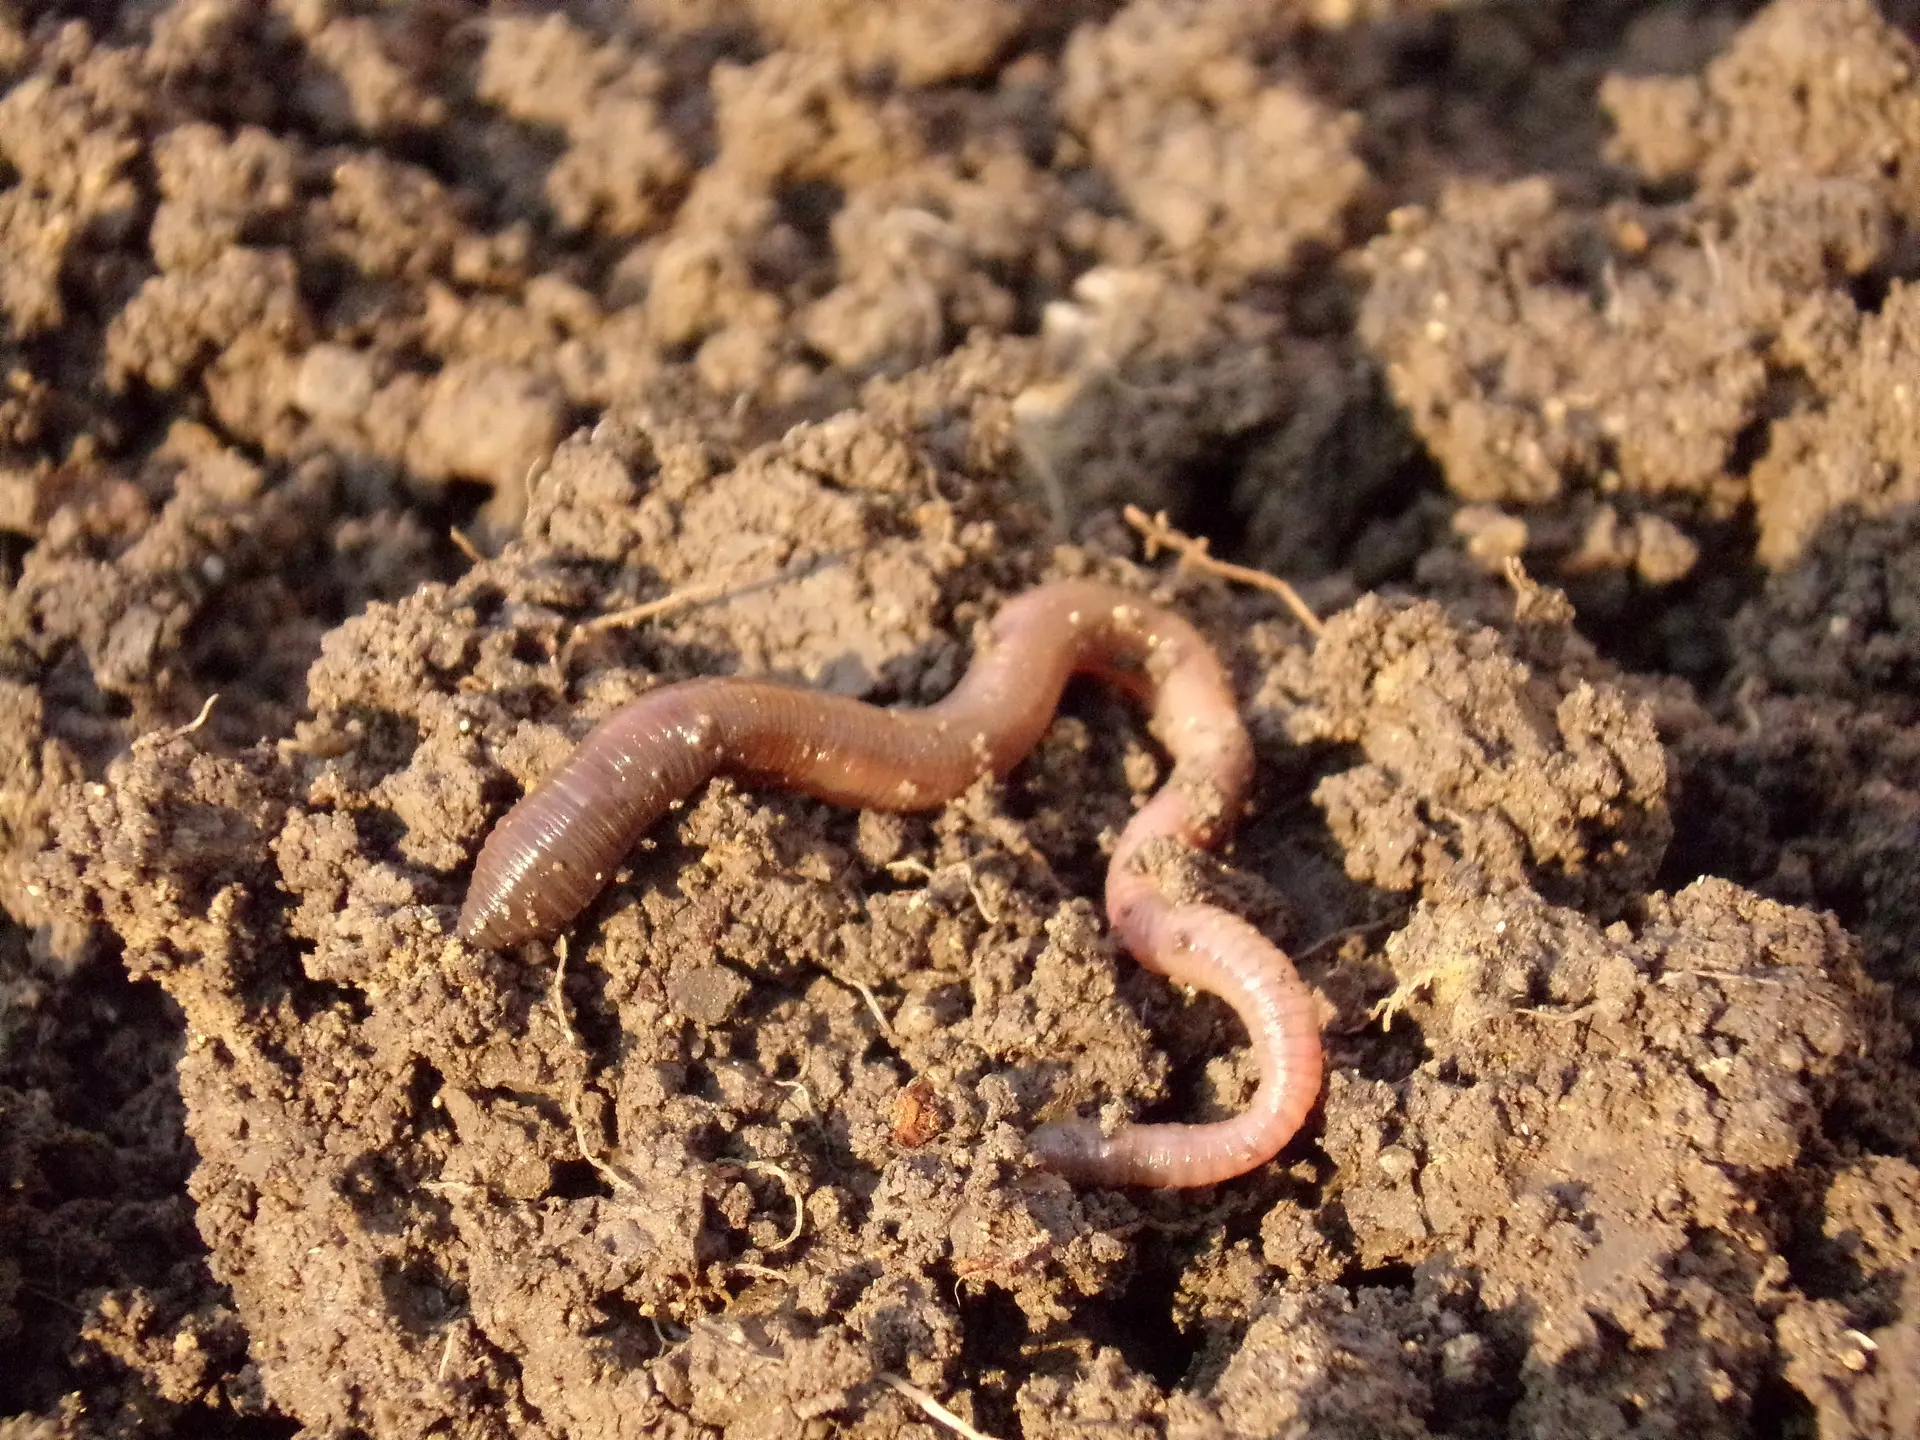
Beneficial Critters


Growing from Seed
Wheat should be sown directly outdoors, unless you are growing wheat grass which can be started and grown indoors. Winter wheat should be planted in the fall several weeks before the first frost date so it has time to get established before winter. Spring wheat should be planted as soon as the soil is workable (i.e., not frozen and not too wet) in spring. Delayed spring wheat planting can significantly reduce yields.
Loosen compacted soil if needed, then lightly tamp down the surface using a rake or your feet to prepare a flat, even seed bed. Seeds can be scattered onto prepared soil by hand or using a hand-cranked seeder. If you have a push seeder it can be used to get more precise seed spacing. If you are scattering seeds by hand, you may want to sow at a slightly higher density than recommended, since germination may not be as high as with directly sown seeds. Rake in hand scattered seeds lightly to ensure they are covered with about 1" (2.5 cm) of soil (try not to move the seeds around too much to keep somewhat even spacing). Wheat planting depth can vary slightly depending on the variety, time of planting, and how much moisture is in the soil. Water in well with a gentle spray nozzle to ensure good seed-to-soil contact. If you have access to row cover, it can be secured flat over the planting area to help prevent birds from eating the newly planted seeds. Be sure to remove the row cover as soon as the seeds germinate.
Planting Considerations
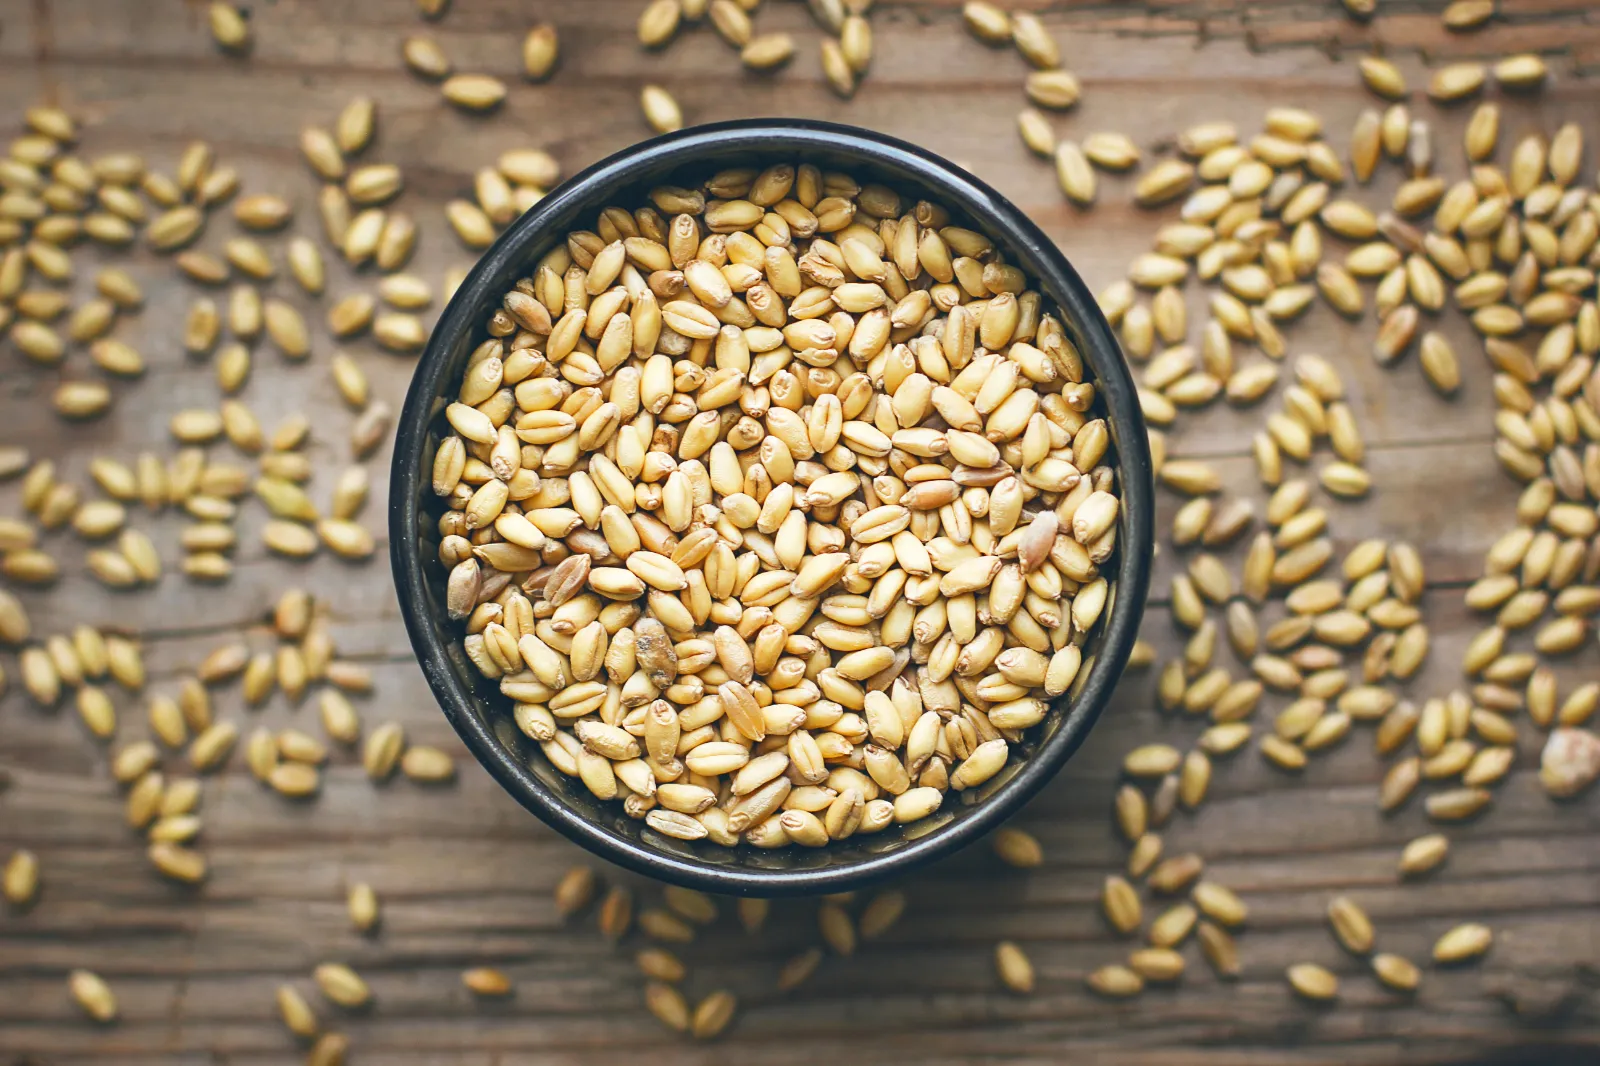
A 10' x 10' (3 m x 3 m) plot can yield very roughly 5-10 lbs of wheat berries, which if milled into flour is enough for several loaves of bread.
Some varieties of wheat are only planted as winter wheat or spring wheat while some can be planted as either. Winter wheat needs prolonged exposure to cold temperatures to develop seed heads. Winter wheat can yield more than spring wheat, but there is a chance that it can die over winter if temperatures become too cold too quickly or there isn't enough snow cover to protect it. In climates with very extreme winter conditions, spring wheat may be a safer bet. Spring wheat takes around 90-120 days from planting to be ready to harvest, while winter wheat can take up to 240 days.
Wheat is broadly classified into 6 main classes:
Hard red winter wheat produces a good general purpose flour that can be used in yeast breads and flatbreads.
Hard red spring wheat is used in artisanal breads, buns, and bagels.
Hard white wheat is used for Asian noodles, tortillas and other flatbreads.
Soft white wheat is used mainly for cakes and pastries.
Durum wheat is the hardest of all wheats. It is primarily used to make pasta.
The whole wheat berries of all types of wheat can be used in recipes. There are also specialty wheats such as spelt, kamut, and einkorn that have unique nutritional and culinary properties.
Wheat prefers moderately fertile soil that drains well. Wheat does not do well in soils that retain too much moisture. Working compost into the soil at the time of planting can help to improve drainage, but do not plant wheat in an area that is prone to waterlogging.
Wheat is not generally good for container growing but wheatgrass can easily be grown in containers indoors and outdoors. It is ready for harvest in as little as 10 days. In addition to using wheatgrass for juicing and cooking, pets and chickens may also enjoy nibbling on wheatgrass (consult with your vet if you have any questions about whether wheatgrass is good for your pet). Be sure to use untreated seeds to grow wheatgrass.
Feeding
Winter wheat can be fertilized at planting in the fall, early in the spring, or both (split application). Spring wheat should be fertilized at planting. Choose a fertilizer that is slightly higher in nitrogen, but do not over-fertilize as excess can lead to 'lodging' - wheat that falls over. For winter wheat too much nitrogen in the fall can cause rapid growth that can increase the potential for disease over winter. For home gardeners growing winter wheat a split application may be the best approach. If excessive rains are expected, wait for them to pass before fertilizing (and planting).
If a soil test shows specific deficiencies, amend the soil at the time of planting.
Harvesting
Winter wheat is usually ready to harvest by late summer. Spring wheat is usually ready to harvest by late summer to early fall.
Once the seed heads start to form, there are four maturity stages: Milk stage: when the kernel can be squished easily with a thumbnail and releases some milky juice.
Soft dough stage: when the kernel can be squished easily but does not release 'milk'.
Hard dough stage: where the kernel can be dented with some pressure but not squished.
Flint stage: when the kernel is completely hardened and cannot be dented.
In the home garden for the best quality crop wheat should be harvested at the hard dough stage and then cured.
Before harvesting, check the seed heads for signs of disease. Diseased seed heads should not be harvested as there are wheat diseases that can cause illness in people.
A traditional way to harvest wheat is with a scythe, but for smaller plots a serrated hand knife (ideally semicircular) can do the trick. Grab several stalks in one hand close to the soil level and cut with the other hand, leaving the heads attached to the stalks. Cut stalks can optionally be bundled together and tied with a pliable wheat stalk so they are easy to move around and cure. Several bundles of wheat can be stood up against each other into “stooks” so they can be cured outdoors. Otherwise you can take the wheat to a dry, sheltered location and spread it out to dry. If drying outdoors be sure the forecast is mostly rain-free. If drying under shelter be sure the wheat cannot be eaten by rodents. It can take 1-2 weeks to cure wheat; curing is done when the kernels are fully hardened.
Next the wheat needs to be threshed and winnowed. Threshing can be as simple as spreading the wheat stalks out on a tarp and beating them with a broom handle or other long piece of wood until the seed heads come off and the grains are mostly separated. Some growers build specialized tools or machines for threshing. Threshing can be a dusty task, take precautions to avoid inhaling dust or getting dust in your eyes. Before winnowing, rubbing the seed heads through a screen can help to break up any heads that are still whole and to remove excess chaff.
To winnow the grain (i.e., separate the grains from the chaff) either use a fan or work outside on a breezy day. Slowly pour out the grain in front of the fan into a large catchment container. The fan needs to be strong enough to blow away the lighter chaff but not so strong that the grain is being blown away. This will need to be repeated several times to get grain that is relatively free of chaff.
Wheatgrass can be harvested when it is several inches (15-20 cm) tall and roughly 10 days old. Use scissors or shears to cut the wheatgrass just above soil level. Wheatgrass can regrow for multiple harvests although the first harvest will be the highest quality.
Storage
Before storing home grown wheat berries, it is recommended to freeze them in an airtight container or freezer-safe bag for at least three days to kill insects or larvae.
Fully dried, whole wheat berries can be stored in airtight containers in a cool, dark, dry place for up to several months or even years. Be sure to choose a storage location and container that is insect and rodent proof. It is not generally necessary to store wheat berries (uncooked) in the fridge.
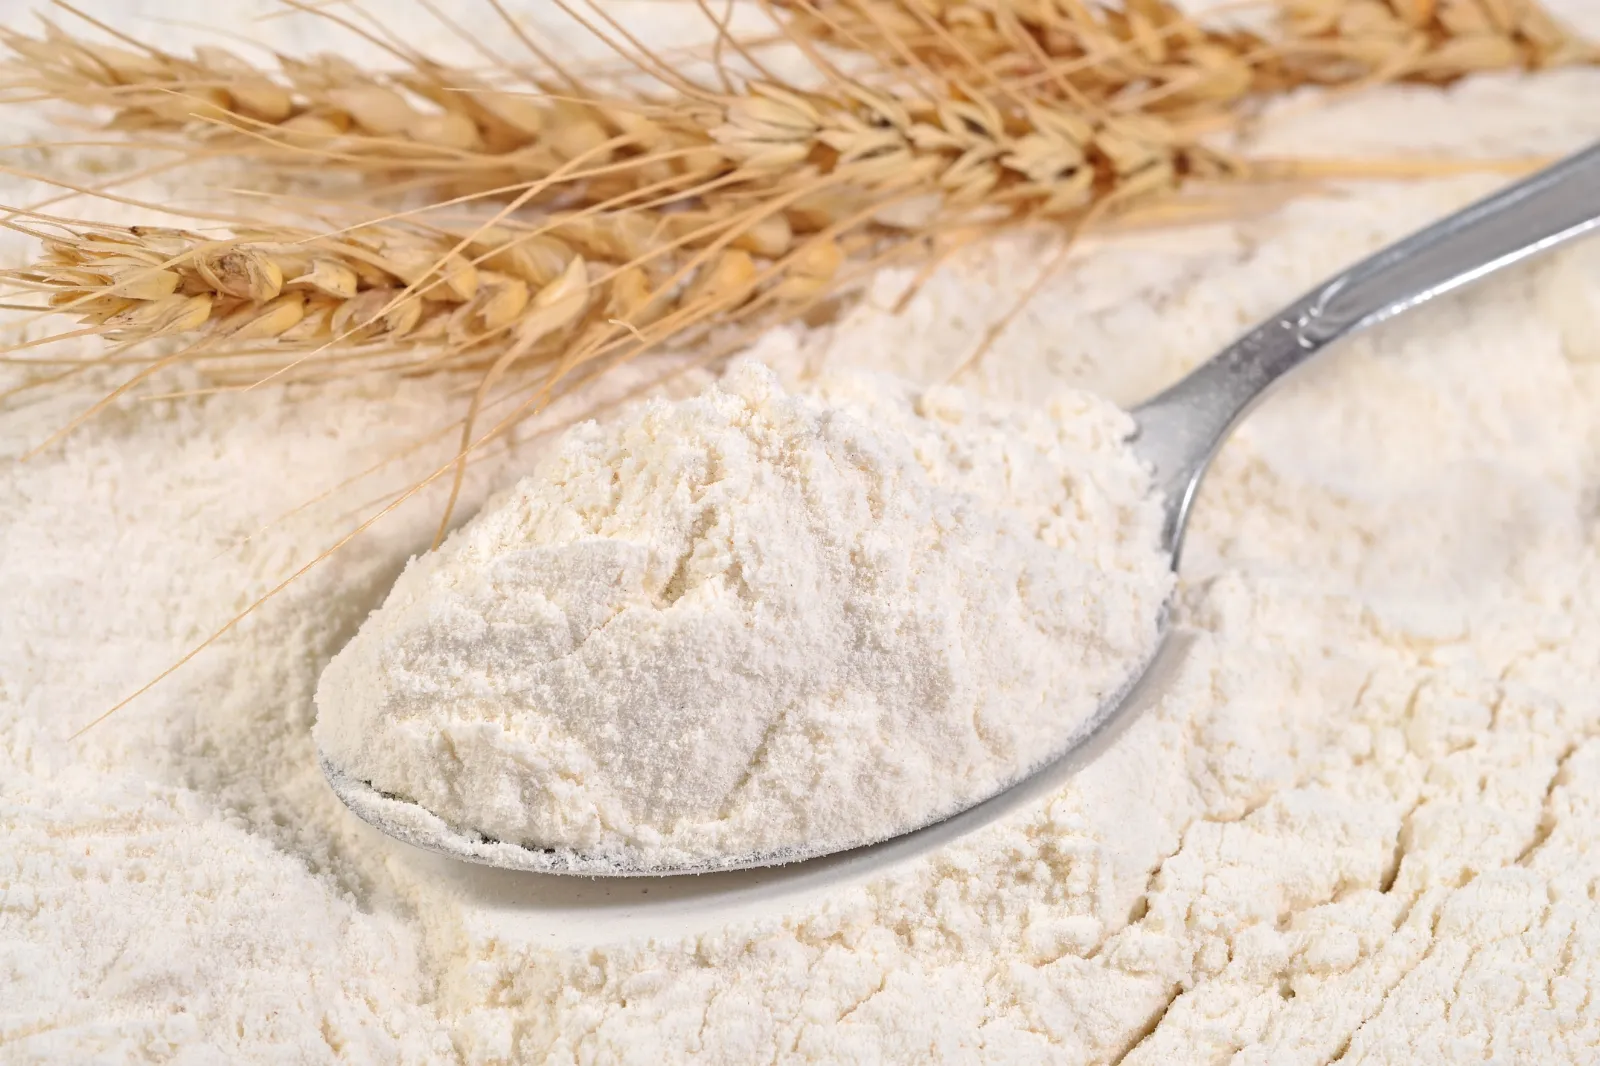
Fresh ground flour should ideally be used right away, but if needed it can be kept at room temperature or in the fridge for up to a few days. It can also be frozen in an airtight container or freezer-safe bags for up to several months.
Wheatgrass can be stored in the fridge in an airtight container or bag for up to several days. It should not be frozen.