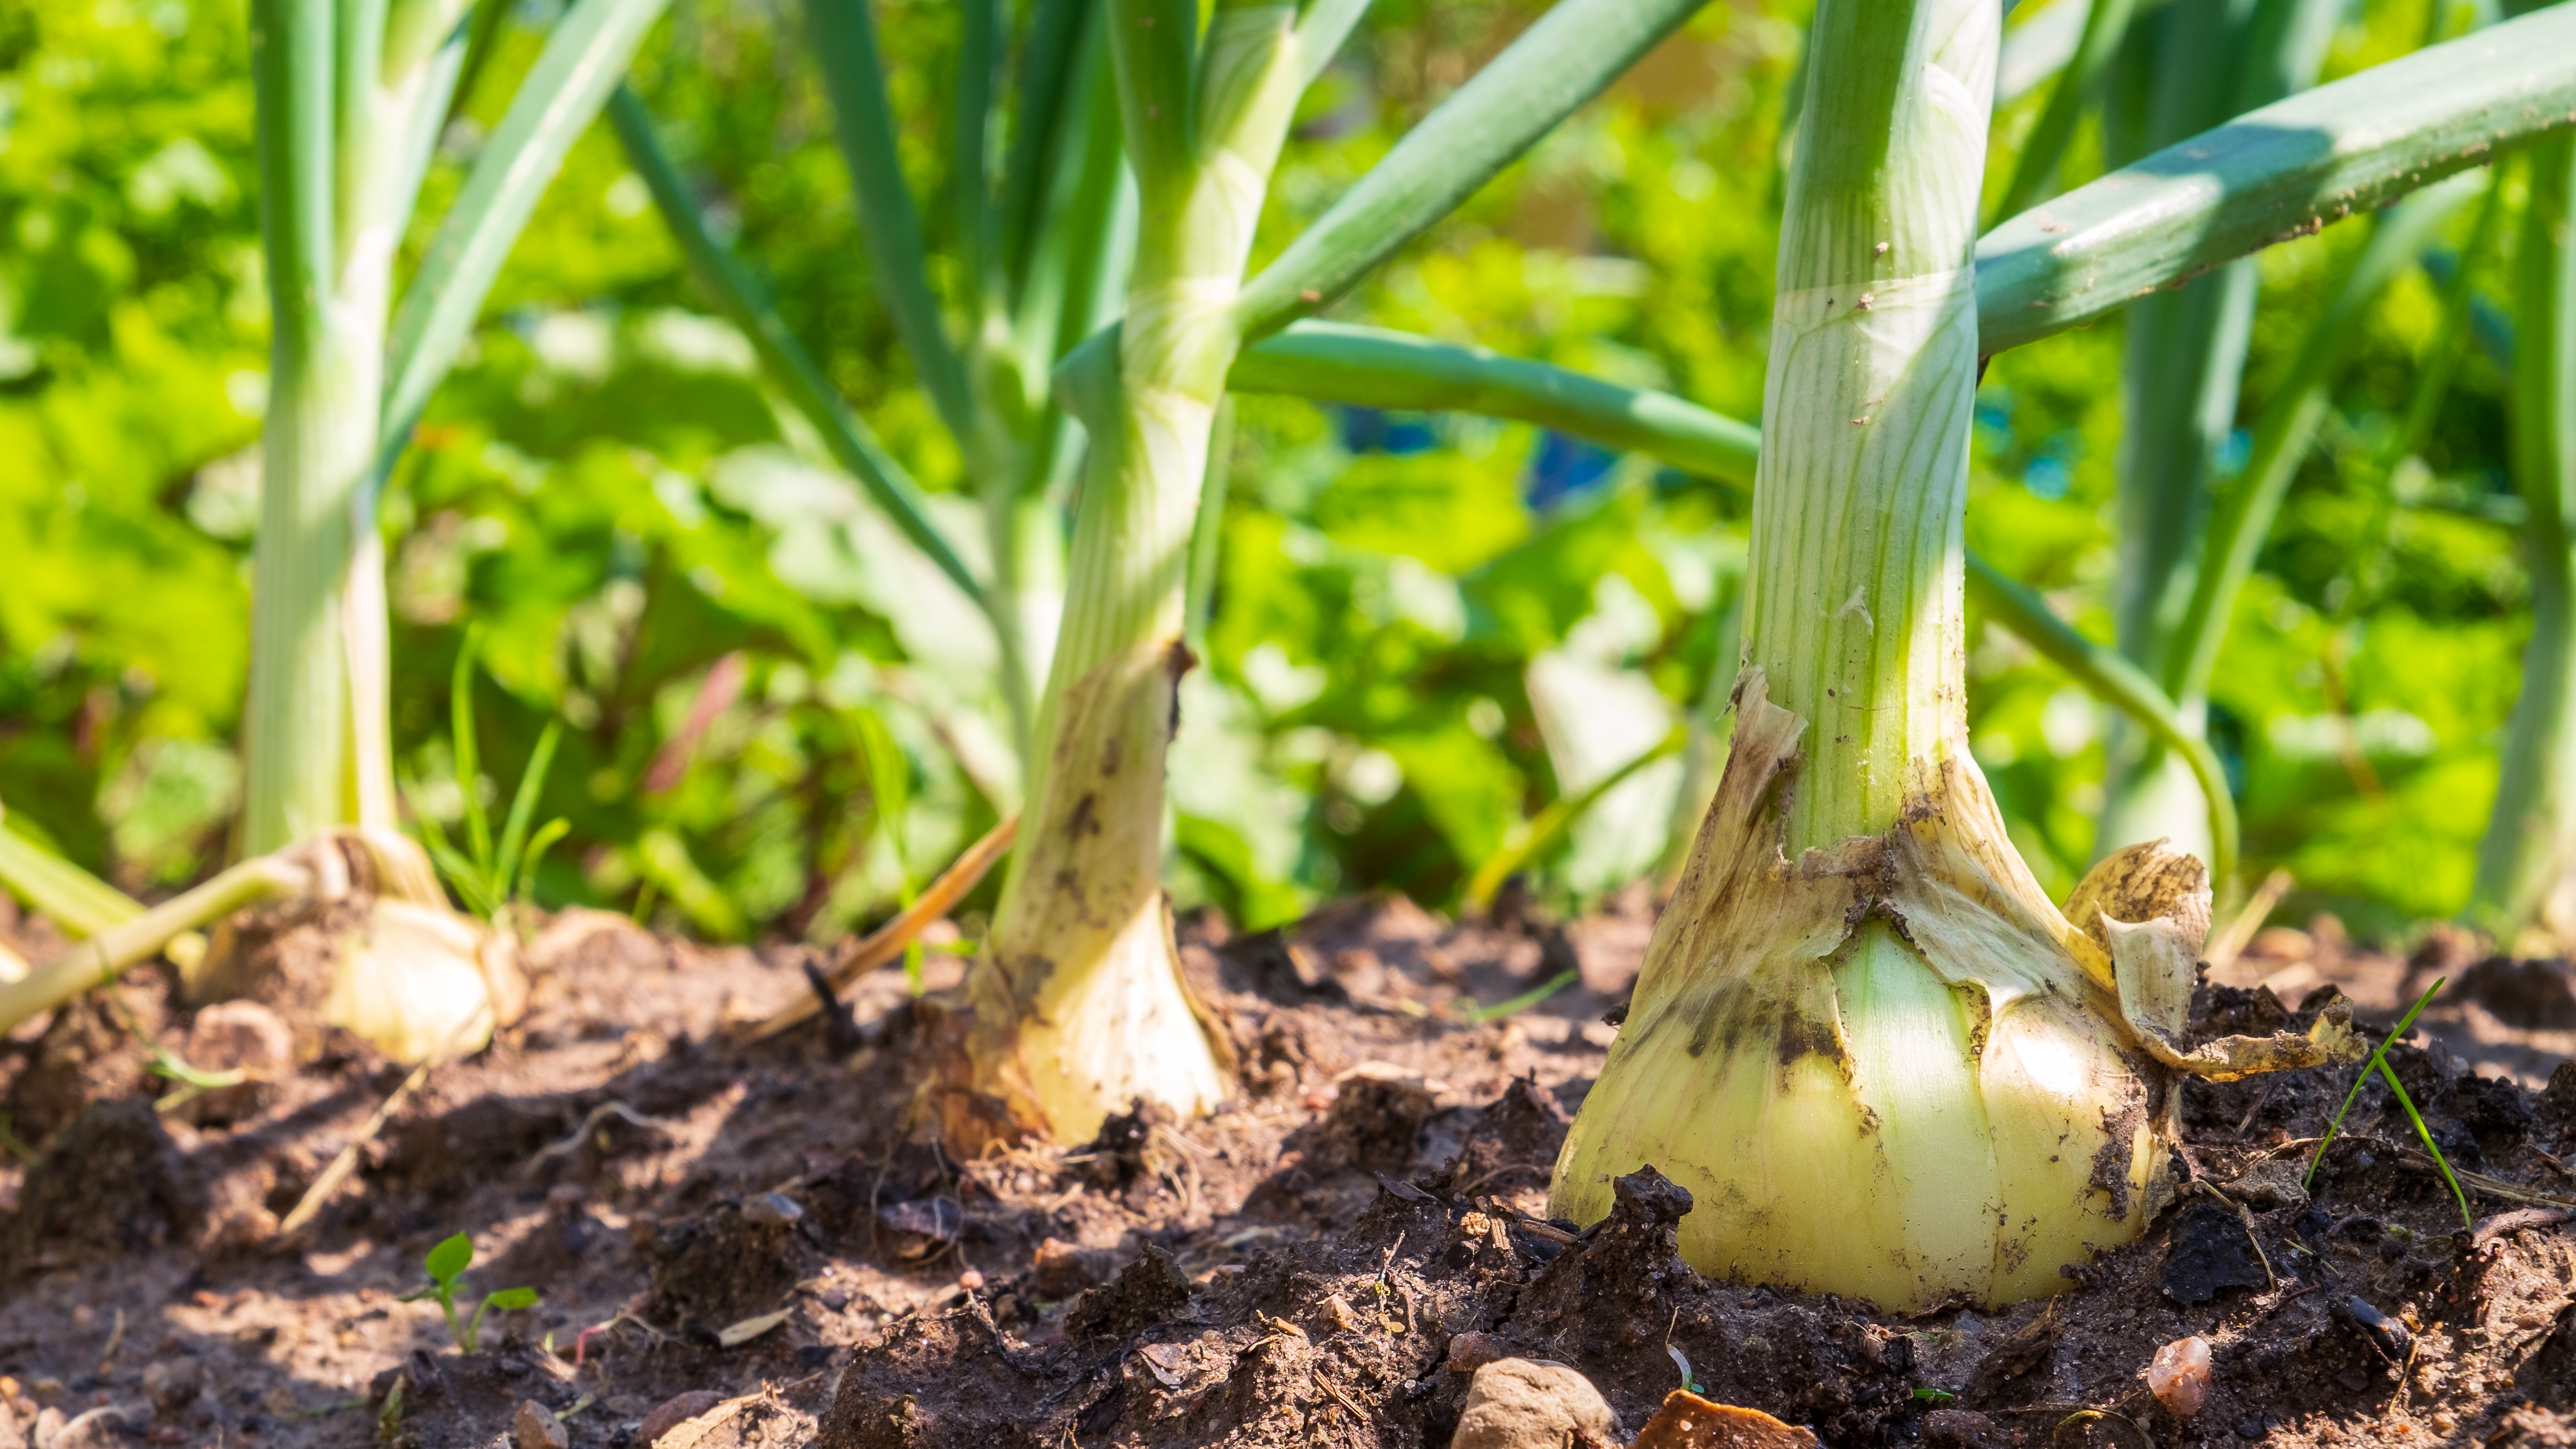
Shallots
Allium cepa var. aggregatum, A. oschaninii
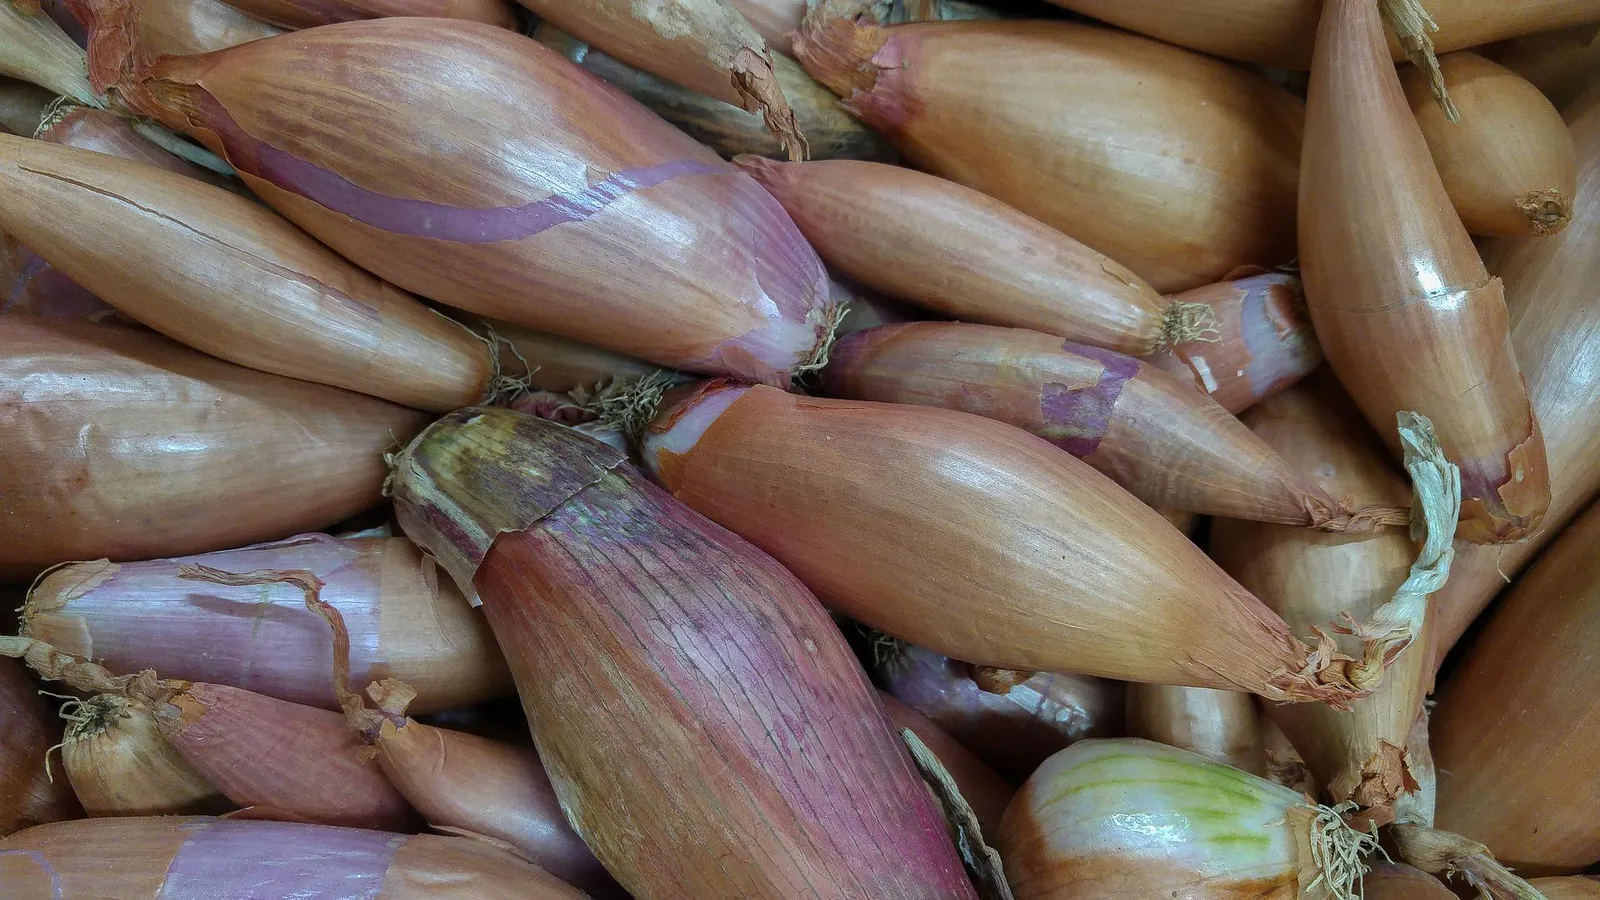
The term 'shallots' usually refers to specific varieties of 'multiplier onions'- onions that spread primarily by bulb division. Multiplier onions that have reddish-purple scales and smaller bulbs are often simply called shallots, while larger yellow or brown varieties tend to be called yellow shallots, potato onions, or simply multiplier onions. Shallots have a similar flavor to onions but are sweeter especially when cooked. There is also a different species, Allium oschaninii, which is the French gray shallot (sometimes called the 'true shallot'). French gray shallots are sought after for their unparalleled flavor. Shallots, like onions, are day-length sensitive and most shallot varieties are 'long-day' varieties which grow best in areas that receive 14+ hours of sunlight in summer.
How to Grow Shallots
Quick Info
Put away the pen and paper
Plan your veggie garden in minutes with Planter's easy drag and drop planner.
Try Planter for Free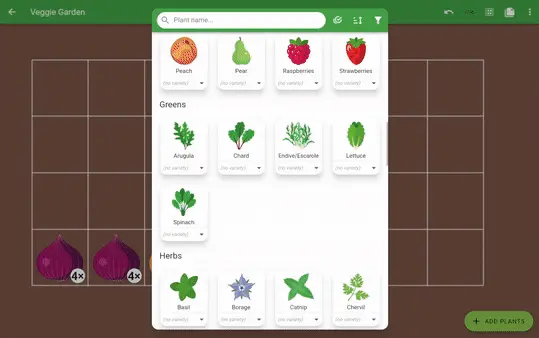
Related Articles
Companion Plants


Combative Plants


Growing from Seed
Shallots can be grown from sets or from seeds. Shallots grown from sets can produce several new bulbs while shallots grown from seed usually produce one bulb. Seeds can be started indoors or sown directly outdoors as soon as the soil is workable in spring. Starting seeds indoors is helpful in areas with short seasons, or to get an early harvest.
After sowing the seeds, keep the seed starting mix consistently moist. A heat mat may be helpful for germination; the optimal temperature of the seed starting mix for germination is 70-80°F (21-27°C). Provide supplemental light as soon as seedlings emerge. Some growers trim the tops of the shallot seedlings to 4-5 inches (10-12 cm) prior to hardening off to encourage stockier plants that are easier to transplant.
Planting Considerations
Shallots prefer loamy, well-drained soil. Heavy clay soils that become waterlogged may lead to bulb rot. Work compost into the soil prior to planting. Shallot sets can be planted as soon as the soil is workable in spring. Growing shallots from grocery store bulbs is not recommended. Shallot spacing can vary depending on the variety and whether they are being grown for one bulb or for many bulbs. If needed, separate sets into individual bulbs prior to planting. In USDA zones 5-10 shallot sets can also be planted in fall. Fall planted shallots can produce earlier harvests and larger bulbs, although they may be more prone to bolting than spring planted shallots. Plant shallot sets with the root side facing down and pointed side facing up. Spring planted shallot sets should be planted 0.5-1 inch (1-2.5 cm) deep. Fall planted sets can be planted 1-2 inches (2.5-5 cm) deep and can be deeply mulched for extra protection. Pull back excess mulch in spring around the last frost date leaving just enough to keep the soil covered.
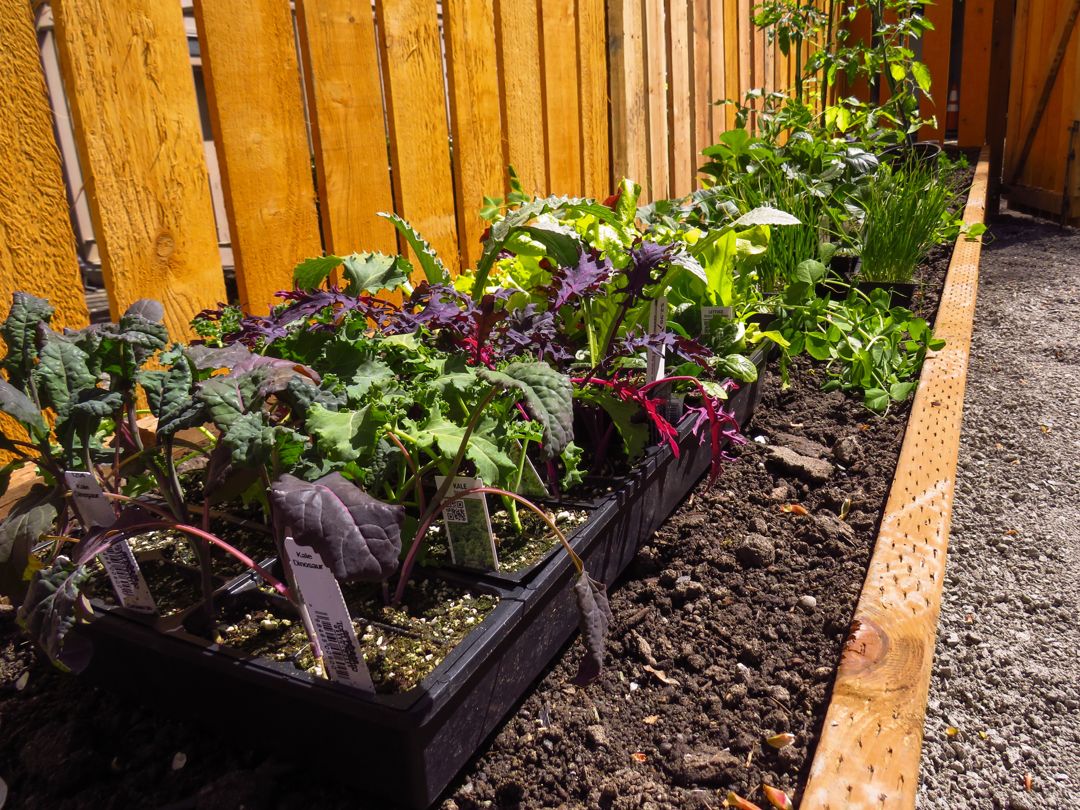
Shallot seedlings can be transplanted in spring after they are hardened off and once the risk of heavy frosts has passed.
Feeding
Shallots are heavy feeders, however excessive nitrogen can delay maturity and negatively affect bulb quality. Fertilize regularly during the growing season with a balanced fertilizer. Stop watering and fertilizing shallots when the plants start to mature (when the tops start to yellow and fall over)- about 1-2 weeks before harvesting.
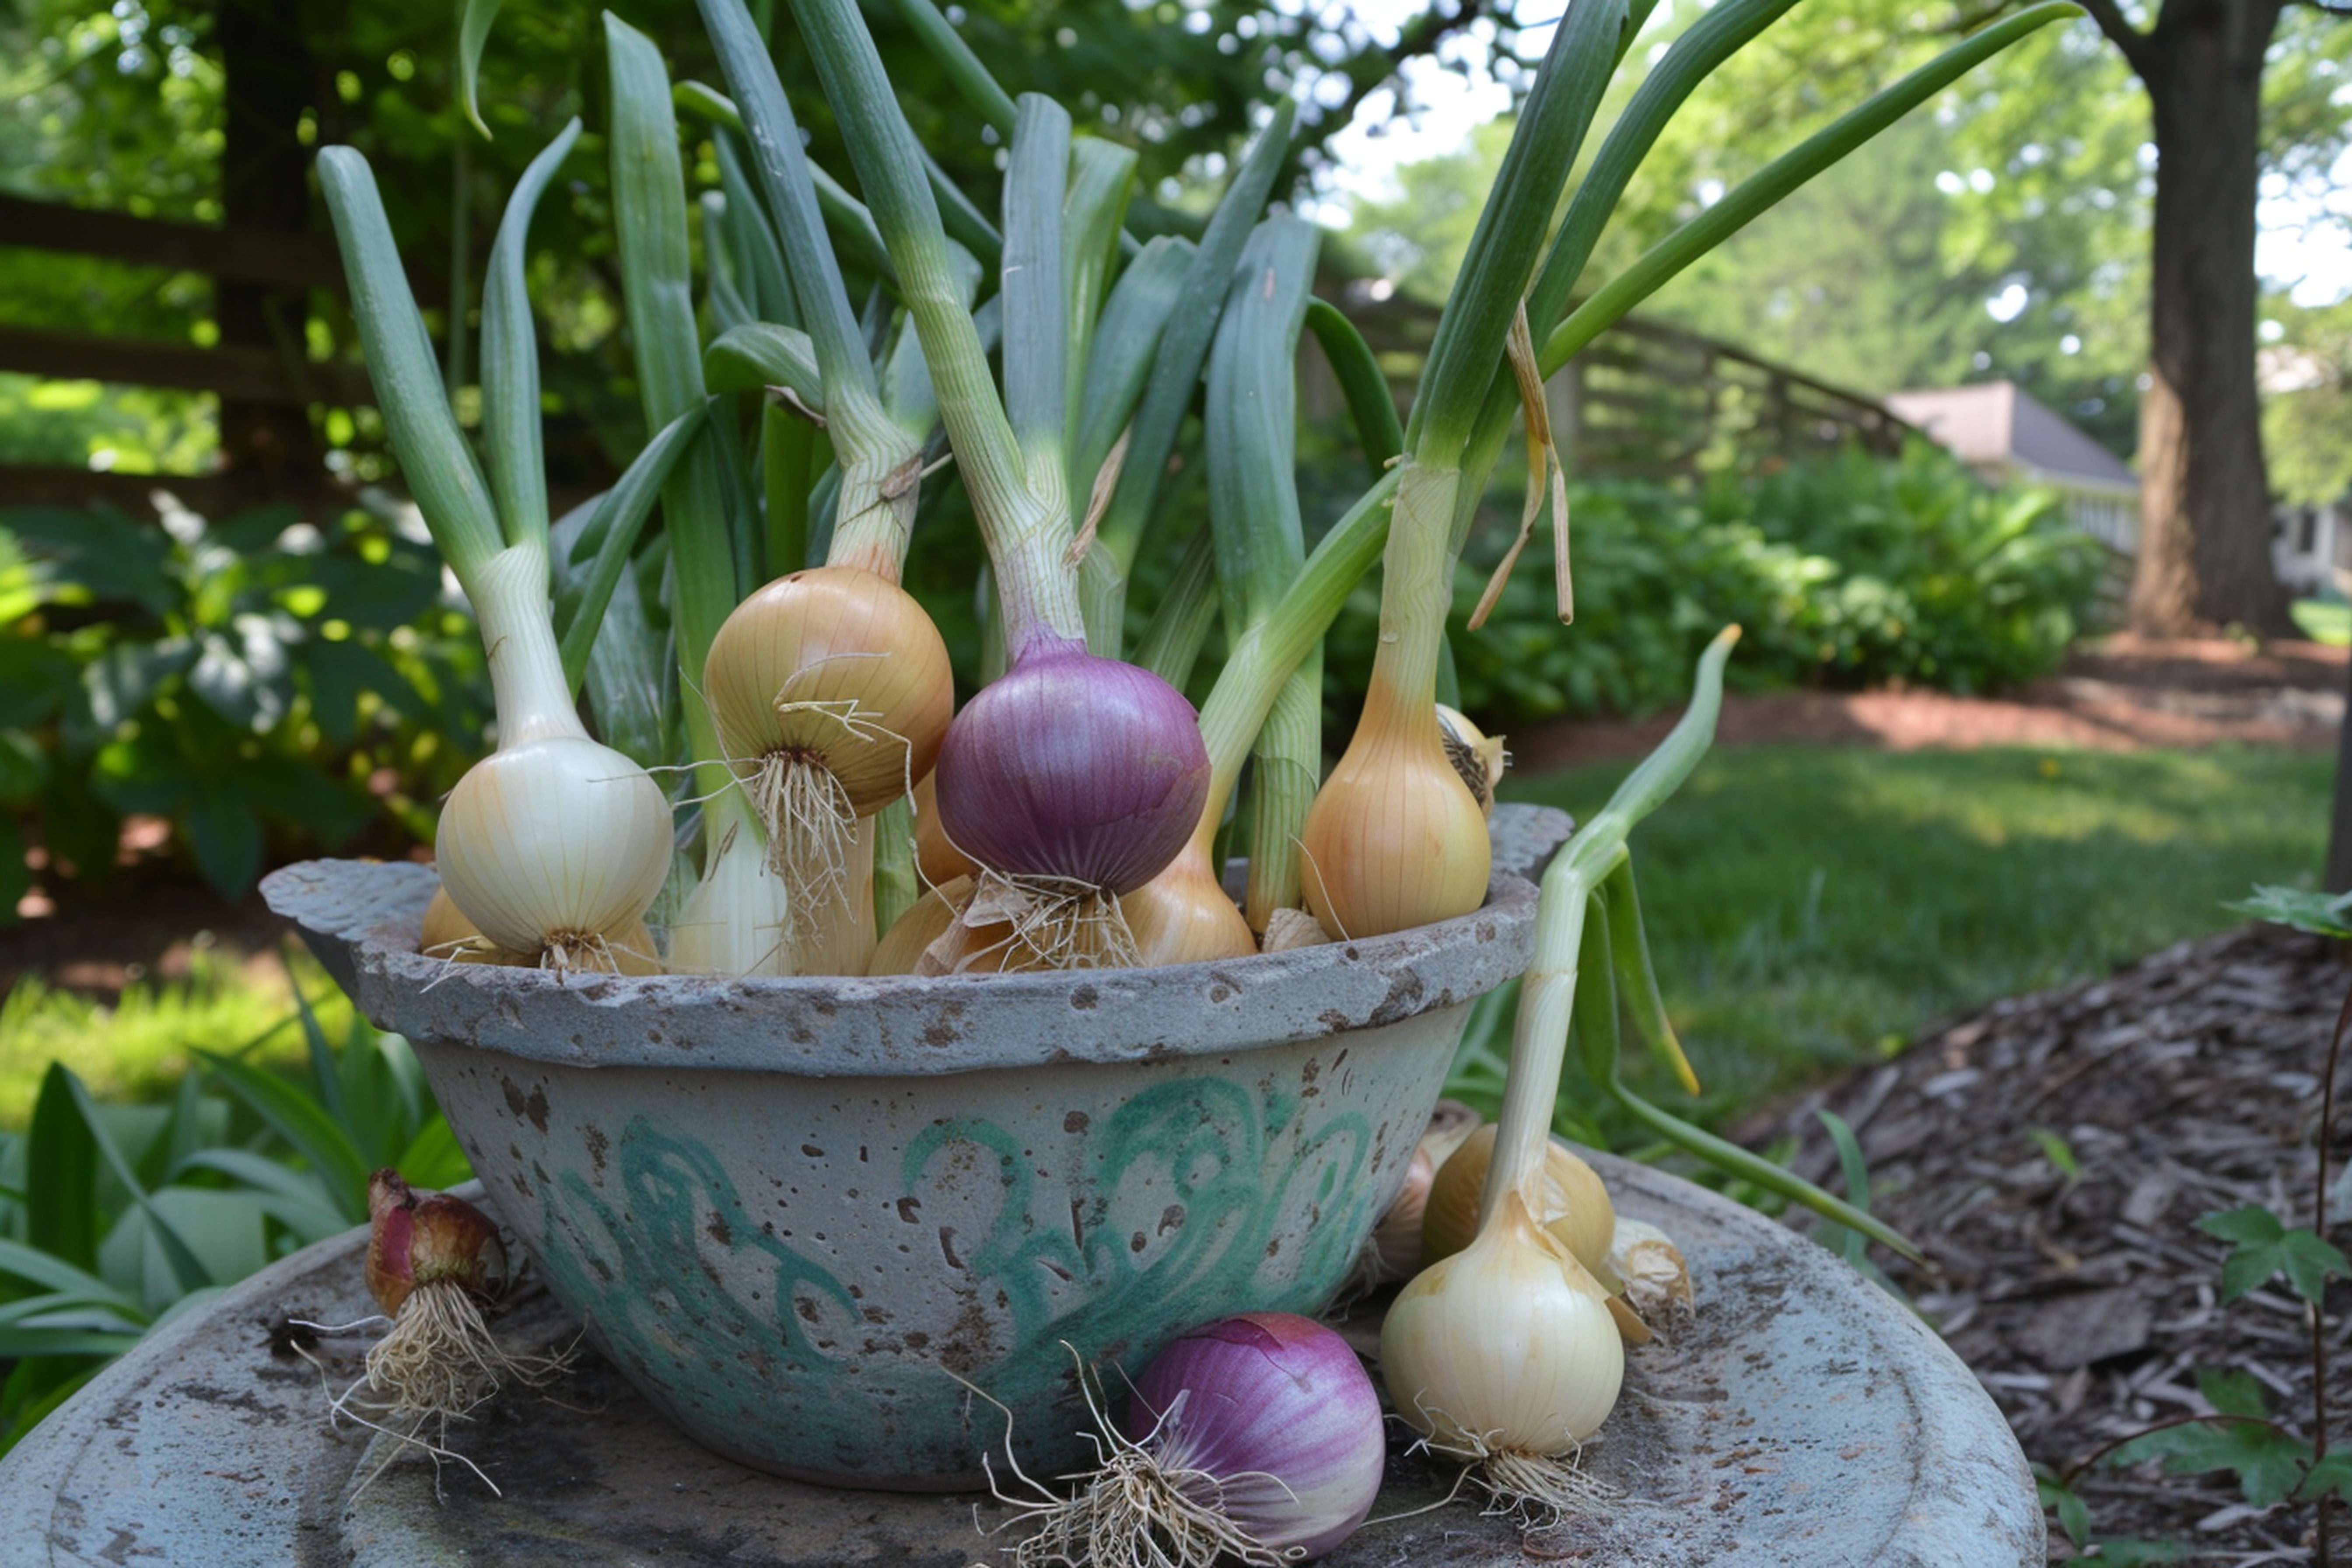
Harvesting
Shallots can be harvested and used fresh at any stage of growth, but only fully mature shallots can be cured and stored. If you see a flower head starting to form on an shallot, harvest and use it right away as it will not keep. Shallots are mature and ready to harvest when the tops have turned yellow or brown and are falling over. Harvest when the soil is dry as harvesting on a wet day can prevent shallots from curing properly. Pull shallots out by their tops or if needed use a garden fork to carefully loosen the soil first without piercing the bulb. Shallots should be harvested out once they have matured; they may spoil if left in the ground too long. Brush off any loose dirt from the roots.
Storage
Shallots are usually cured for long-term storage. Some gardeners will cure shallots by leaving them on the ground in warm, sunny conditions but if possible it's preferable to dry them indoors in a warm, dry, well-ventilated area. Ensure there is good airflow around each bulb. Bulbs are cured when the necks are completely dry; this will take about 1-2 weeks. Once cured the shallot stems can be braided or cut off.
Cured shallots can be stored in a cool, dark, dry place for up to several months. They should not be kept in the fridge unless they are cut or uncured. Use refrigerated shallots within a week or two. Do not store shallots in your basement if it is humid. Shallots shouldn't be stored with potatoes (or other produce), as moisture and gases can be released that negatively impact self life. To freeze shallots first peel and chop them then (optionally) blanch them in boiling water. Cool the shallots then freeze them in handy portion sizes in bags or airtight containers. Shallots can be kept frozen for up to several months.